I’m Not a Morning Person
There is nothing worse than being late for work, except for maybe being late for work AND being hungry. I am self-admittedly always late, and getting up earlier doesn’t seem to work for me because then I just take longer to get ready. I know, it makes no sense.
I’ve been this way my whole life. When I was a kid, my dad used to always fight to get me to wake up for school. I would ignore my alarms, press the snooze button repeatedly, and then he would start trying to get me up. I used to APOLOGIZE to him the night before for it. Goodness. Anyway, it isn’t a habit I grew out of, so anything I can do to save me time in the morning is cool.
One of my favorite things to enjoy in the morning is a breakfast burrito. But, getting all of the ingredients together can take a bit of time – and who has that during a busy work week? So, we love making these make-ahead freezer breakfast burritos.
The Ingredients
Basically, the way we make them includes:
- Bacon (1 pound), crumbled
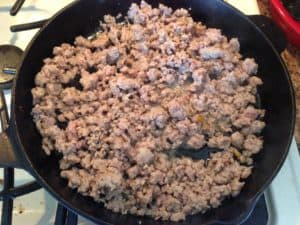
- Breakfast sausage (1 pound), browned
- 1 sweet pepper, diced
- 1/2 sweet onion, diced
- 1 jalapeno pepper, diced (optional)
- 2 cups sliced potatoes, pre-cooked
- 2 dozen eggs
- 1/2 cup milk
- 8 ounces cheddar cheese, shredded
- 25-30 medium-sized flour tortillas
- Butter, salt, and pepper to taste
The Process
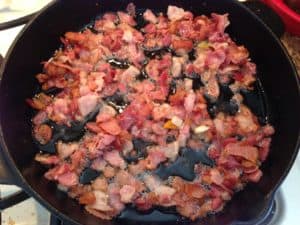
First, I get two 12-inch cast-iron pans preheated and start cooking the bacon and sausage (1 pan for bacon, 1 for sausage.) When all is done, I put the meat on paper towel-lined plates to drain the fat. For recipes like this, I cut the bacon into pieces before I fry it. It seems faster to me to do it this way, but if you’d rather you could cook the pieces whole and then crumble into pieces.
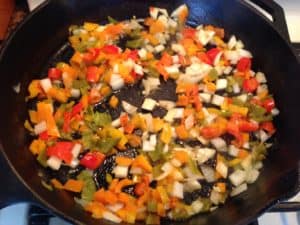
When the meat is done, in one of the pans I also cook the peppers and onions until they are tender. I do about 15 minutes on medium heat, making sure to keep stirring so they don’t burn.
Today, I used sweet peppers from the freezer from last fall’s Farmer’s Market stash. I also used two Hatch chile peppers from New Mexico. These were also from the freezer from last summer when they were in season and available to buy at an area grocery store.
After the meat and peppers/onions are all done, I switch to a non-stick pan because even though I love my cast iron pans for almost everything, I haven’t really been able to master cooking either potatoes or eggs in them.
For the potatoes, I always have thinly sliced pre-cooked potatoes in the freezer, it’s how we preserve most of our garden potatoes in the fall. I freeze them in gallon-size freezer bags and for this recipe, I use half of one bag. I let them thaw completely before frying them in just a bit of vegetable oil on medium heat.
Mixing Everything Together
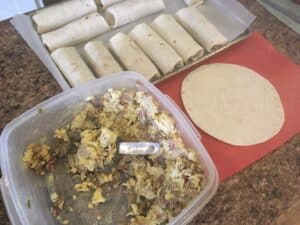
As everything gets done, I mix half of each ingredient together in a large bowl (because even if you do have a large enough bowl, if you put everything in it, it is really hard to stir.)
The Burrito Shells
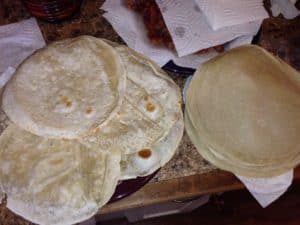
For the burrito shells, I usually try to use the Tortilla Land raw flour tortillas – you can get them at Costco, but there is a store locator on their website.
They are raw and in the refrigerator section at the store – and need to be briefly cooked in the pan on both sides, which adds a bit of time to this process.
You can just use your favorite regular packaged tortillas too, but we like these so use them when available.
Scrambling the Eggs
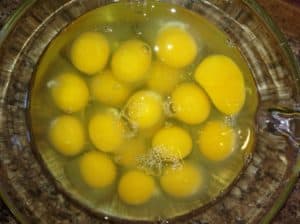
The last step is to mix the eggs with the milk and scramble the eggs. Today I used 20 beautiful, large brown eggs from our 4 chickens (thanks, ladies.) They are pretty big, so I think it was equal to 2 dozen if not a little more. We scramble them until they are almost done, and then add the shredded cheddar cheese and stir in. Once the eggs were done, we stirred half of them into each mixing bowl and then wrapped the burritos.
Wrapping the Breakfast Burritos
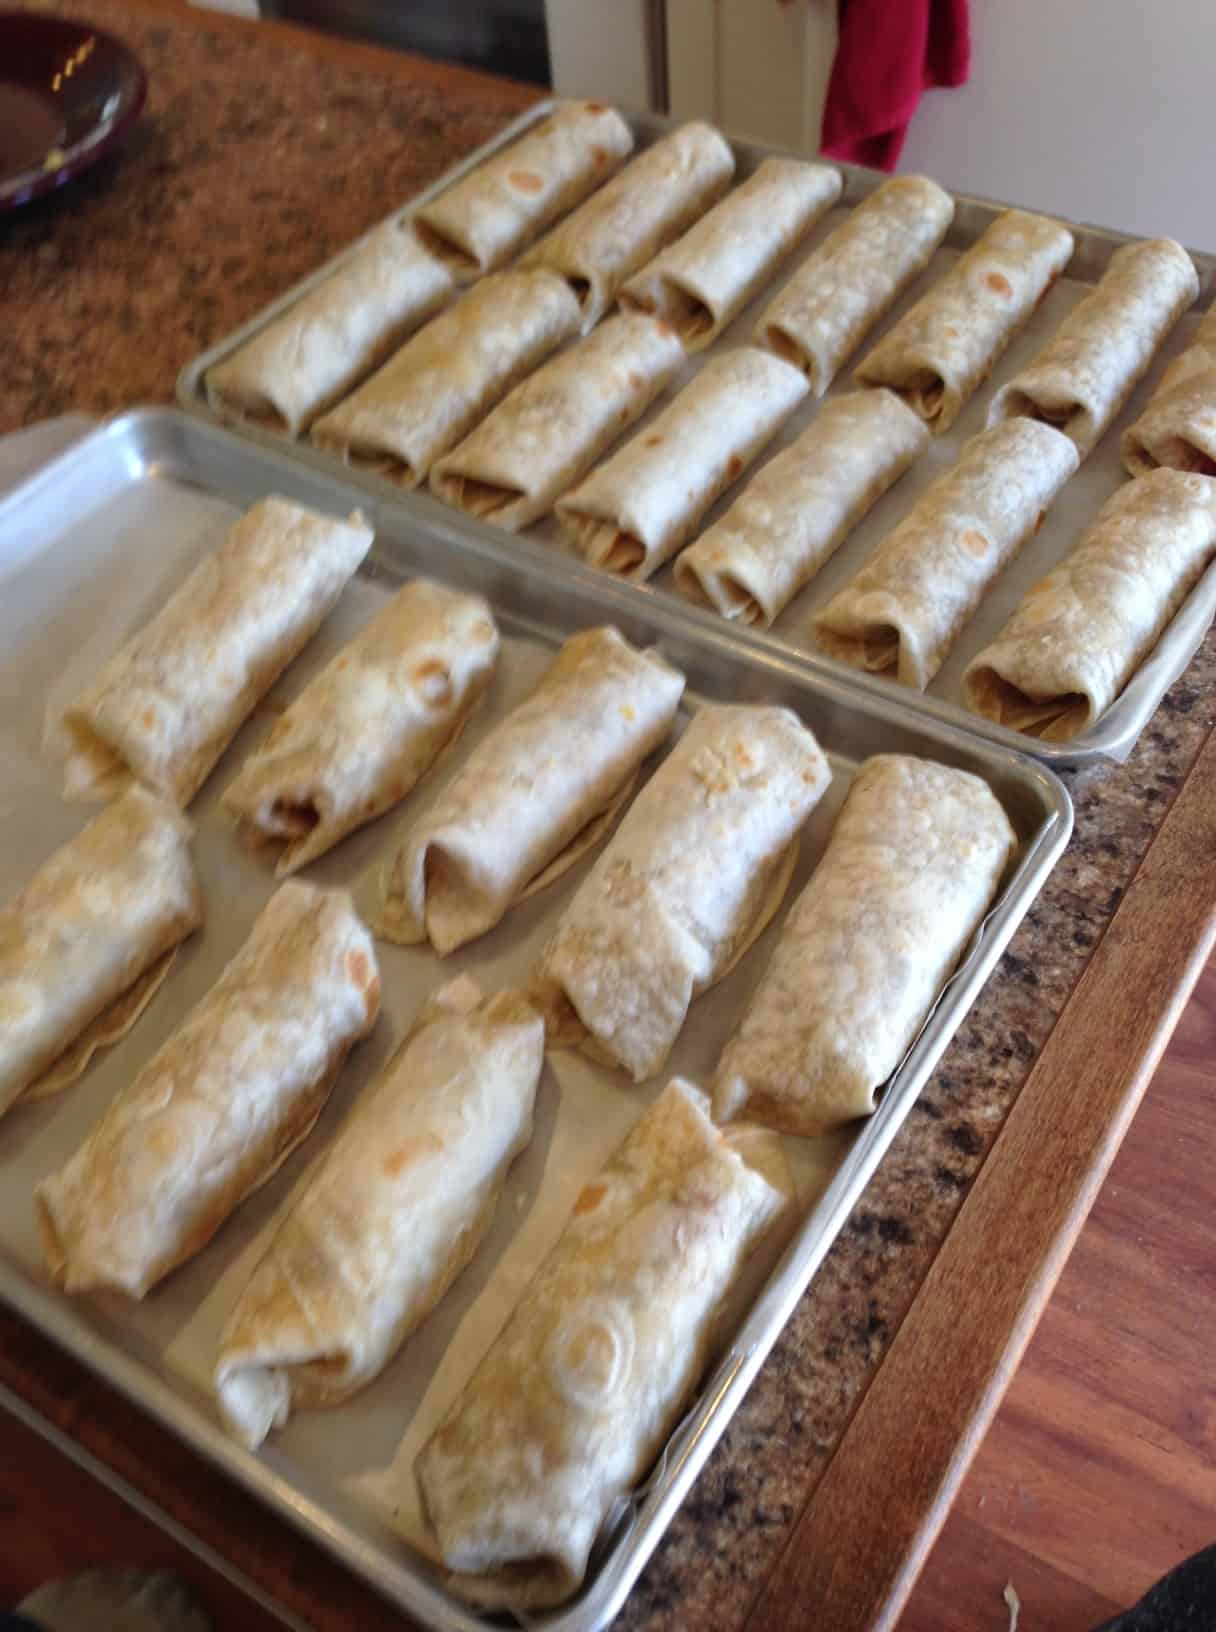
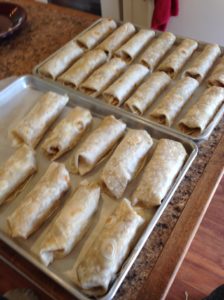
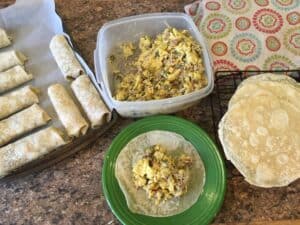 My husband helped me with the wrapping part, and he is a bit more generous with the filling. We each took a bowl and a cookie sheet, and I ended up with 14 and he ended up with 9. Ha! Anyway – we got 25 burritos from this batch. If I had been the only one wrapping, I think I would have gotten 30 burritos … but hey. When you have someone offering to help, you take it.
We lined the baking sheets with wax paper (I normally would have used parchment paper but we were out.) We were careful not to let the shells touch each other so they don’t freeze together, and then we put the baking sheets as you see them here at the top of our chest freezer. Once they are fully frozen, I put them in gallon-size freezer bags for longer-term storage. In the past, I have individually wrapped them in plastic wrap, but I think I will skip that step this time and see how they do.
It did take about 2 hours for all of this, plus the time it took me to do the dishes afterward, but we now have 12+ breakfasts for two. (And I’m actually kind of slow in the kitchen, so you could probably do it faster.) Cost-wise, if you purchased all of the ingredients I have listed above (which I didn’t because I had garden potatoes, and eggs from my chickens) – but I would say it would be under $20. That is less than $1 per burrito. Pretty awesome!
Make Your Own Flavor Combination!
Note: This is the combination we use. There’s no reason you couldn’t do a spinach/mushroom/feta cheese option, or veggies only, or use egg whites only, or opt for whole wheat tortillas, try it with turkey sausage or bacon, etc. You can be creative with it and come up with your own “favorite” combination!
Reheating and Eating the Breakfast Burritos
 When it’s time to take them out of the freezer to heat, I’m not going to put specific times here because all microwaves are different. I would recommend wrapping the burrito in a damp paper towel, and maybe start with 1-2 minutes and check it.
If you have time, it works well to do 1-2 minutes and let it sit in the microwave a few minutes, and then do like 30 seconds to a minute longer. Again, time depends on your microwave. (If you remember, you can take them out of the freezer the night before, which makes them microwave more evenly – but I rarely remember to do that.)
If you have any extra time, I like to toast both sides in a hot skillet – but this part is optional. My husband likes to put salsa or hot sauce on his. Sometimes I do, sometimes I don’t.
If you make these, tell me how you like them in the comments below!
You might also like my blog post about making Smoothie Freezer Packs, something else I make ahead to save time in the morning!
For more blog posts like this one, click here.
Frequently Asked Questions
Can breakfast burritos be frozen for meal prep?
Yes, breakfast burritos freeze well and are a popular make-ahead meal prep option for quick breakfasts during busy mornings.
What ingredients are commonly used in freezer breakfast burritos?
Common ingredients include eggs, cheese, potatoes, bacon, sausage, peppers, onions, tortillas, and seasonings, though recipes can be customized in many ways.
How do you keep breakfast burritos from sticking together in the freezer?
Many people freeze breakfast burritos individually on baking sheets before transferring them to freezer bags or containers for long-term storage.
What is the best way to reheat frozen breakfast burritos?
Frozen breakfast burritos are often reheated in the microwave wrapped in a damp paper towel, and some people finish them in a skillet for a crispier texture.
Can breakfast burritos be customized for different diets?
Yes, breakfast burritos can be adapted with vegetables, egg whites, turkey sausage, whole wheat tortillas, different cheeses, or vegetarian ingredients based on personal preferences.
Great post Darcy 🙂 I make breakfast for the kiddos and freeze it sometimes, it does make mornings go easier!! Thanks for the idea!
Thanks, glad you liked it! 🙂
I finally took the time to read this all the way through. Love it, you put the directions on there so perfect. Can’t wait to read the next instruction blog.
Oh, thank you! I’m glad you enjoyed it!
Pingback: Five Simple Ways to Freeze Fresh Eggs
Thanks Darcy! This is my mission tomorrow 👍
Awesome! I hope you love them! We almost always have some in our freezer. 🙂