Fermentation February
While I have been canning various things for the past 10 years or so, fermenting is something that is a relatively new skill for me. As we all know, the only way to get better at something is to practice, so I was excited to see that the February category for the 2019 Food in Jars Mastery Challenge was for fermentation.
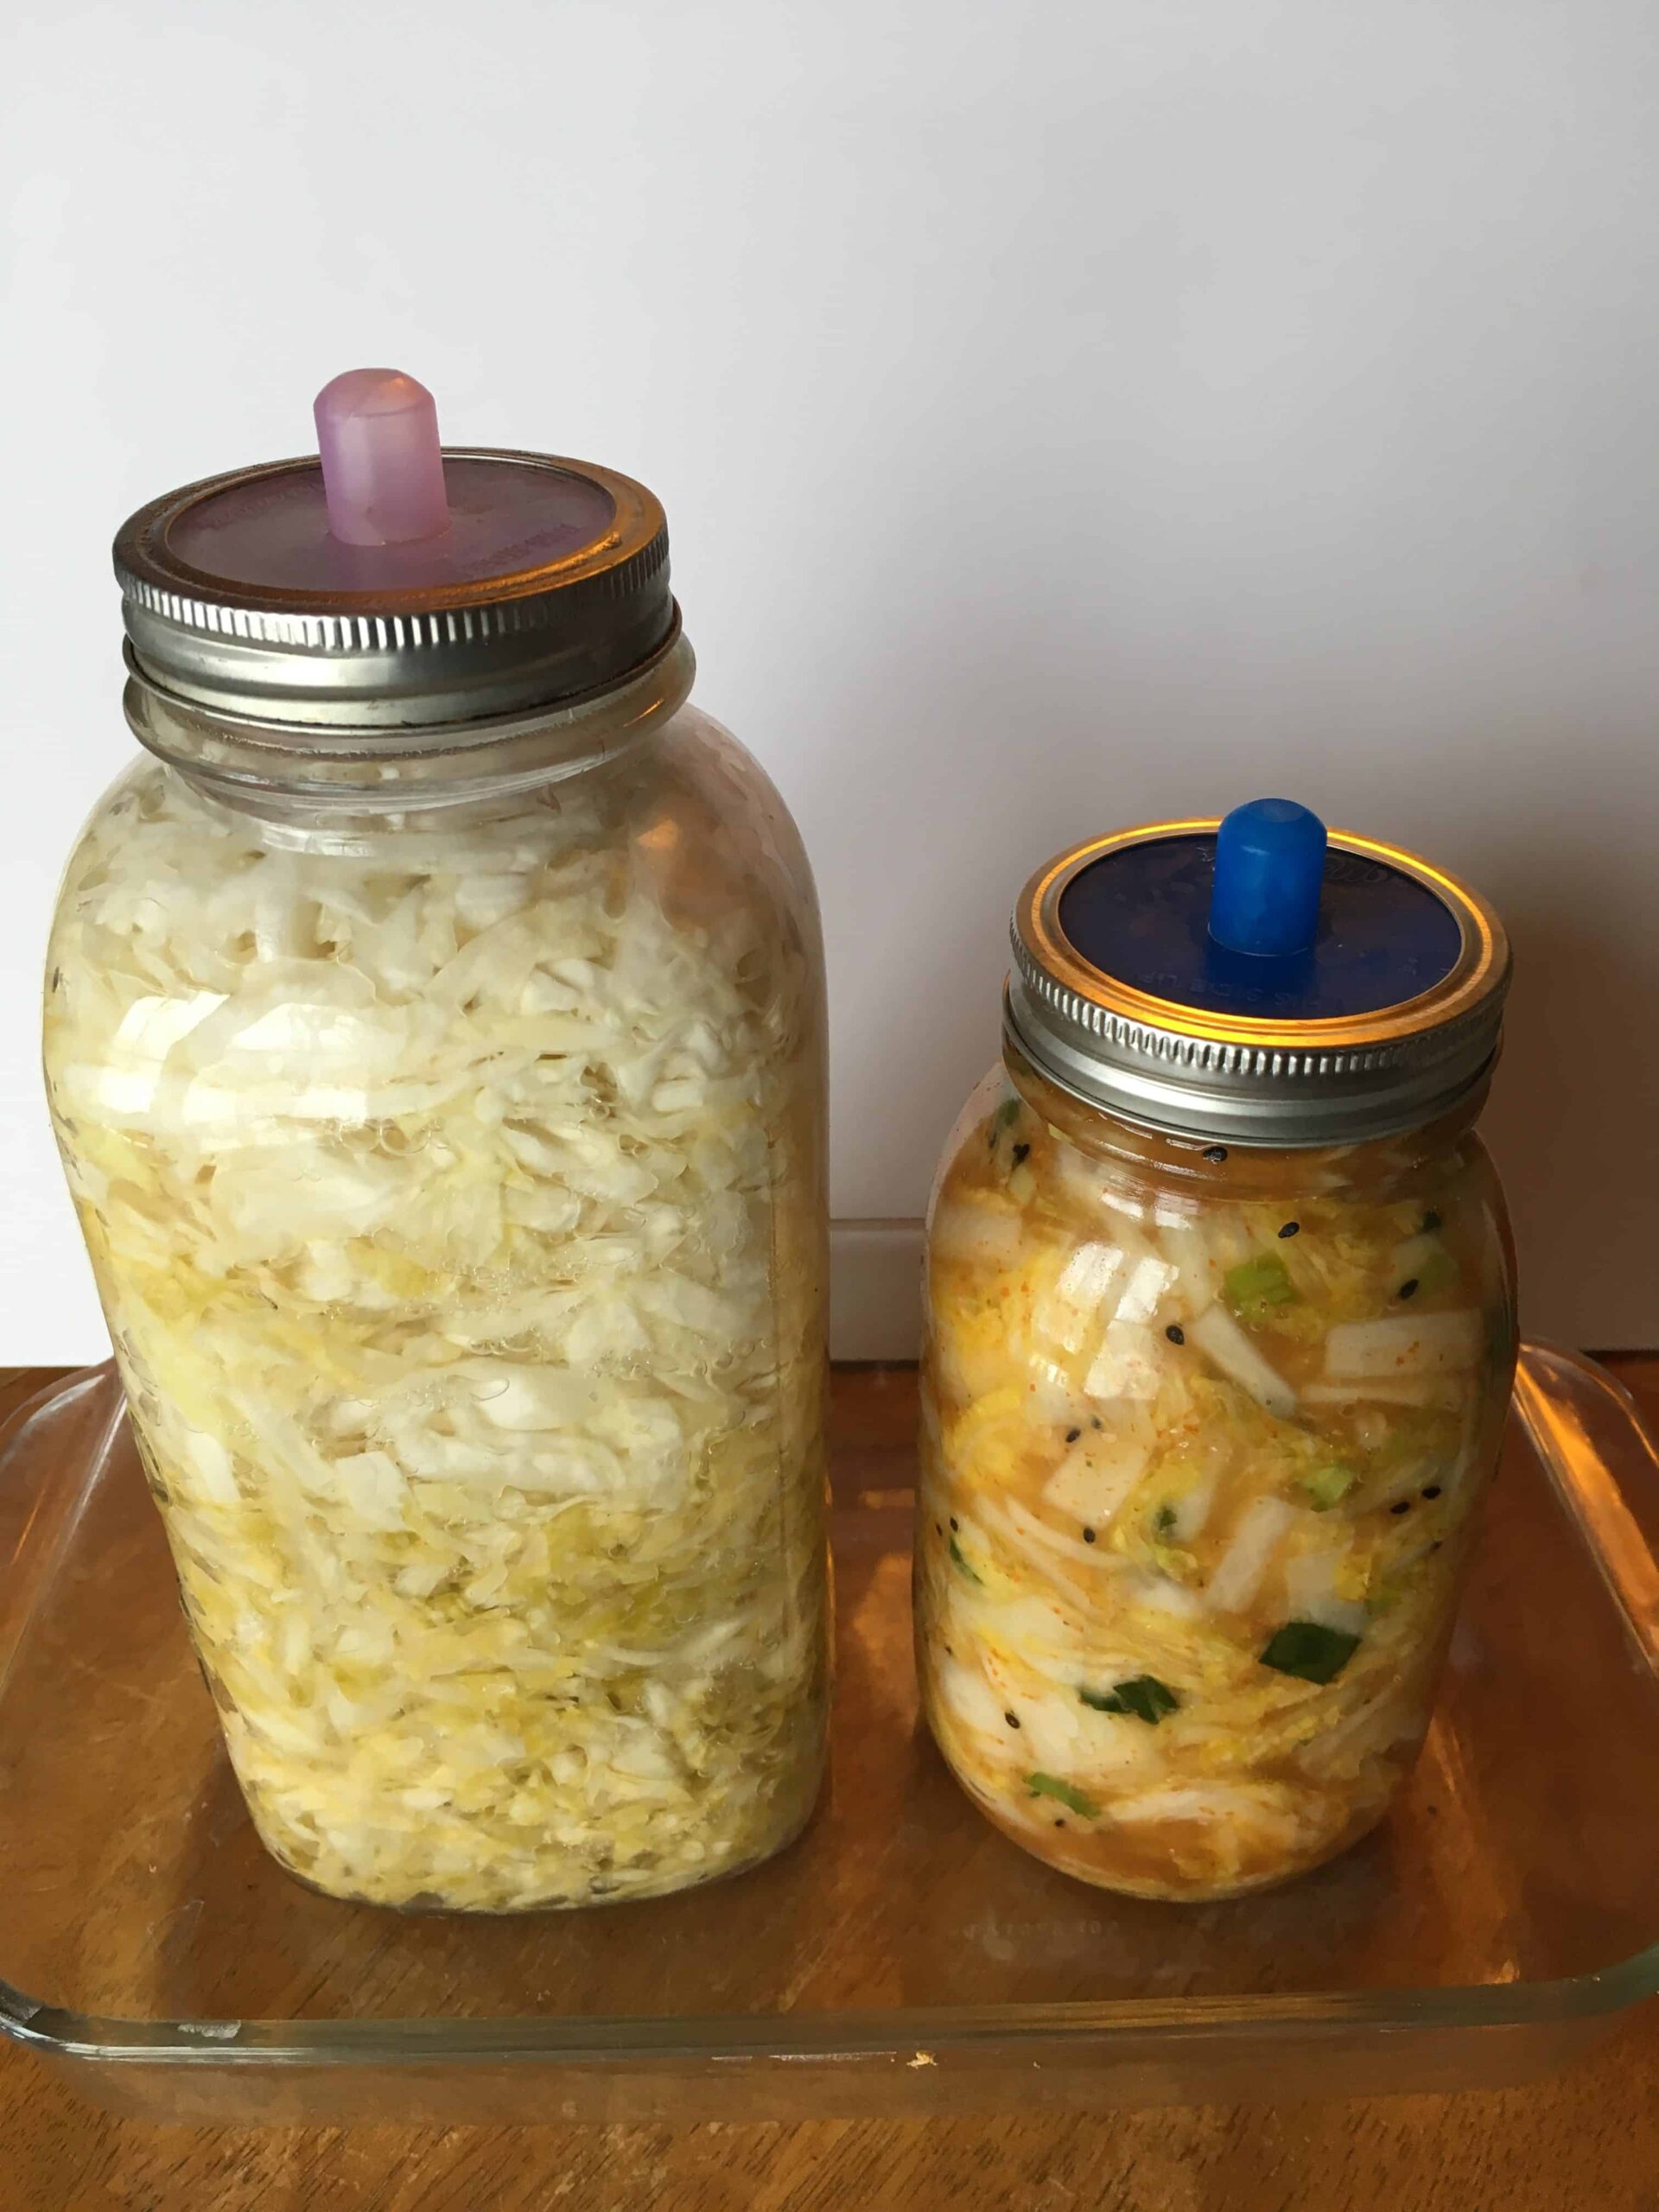
Going into February, I already had a half-gallon jar of sauerkraut on my counter that had been happily fermenting on the counter since January 11. I decided I also wanted to make kimchi and fermented dills and also ended up making a sourdough starter and homemade yogurt. Once I started fermenting things, I just couldn’t stop! Last week, I did a quick YouTube video about all of these projects too if you want to check it out.
Sauerkraut
Over the past few years, my husband and I attempted a few batches of sauerkraut with the cabbage from our garden each fall. The first batch somehow turned out, I believe by a stroke of pure luck. The second batch did not have a proper airlock lid in place and turned moldy. The third batch had too much salt added and salt-cured instead of fermenting.
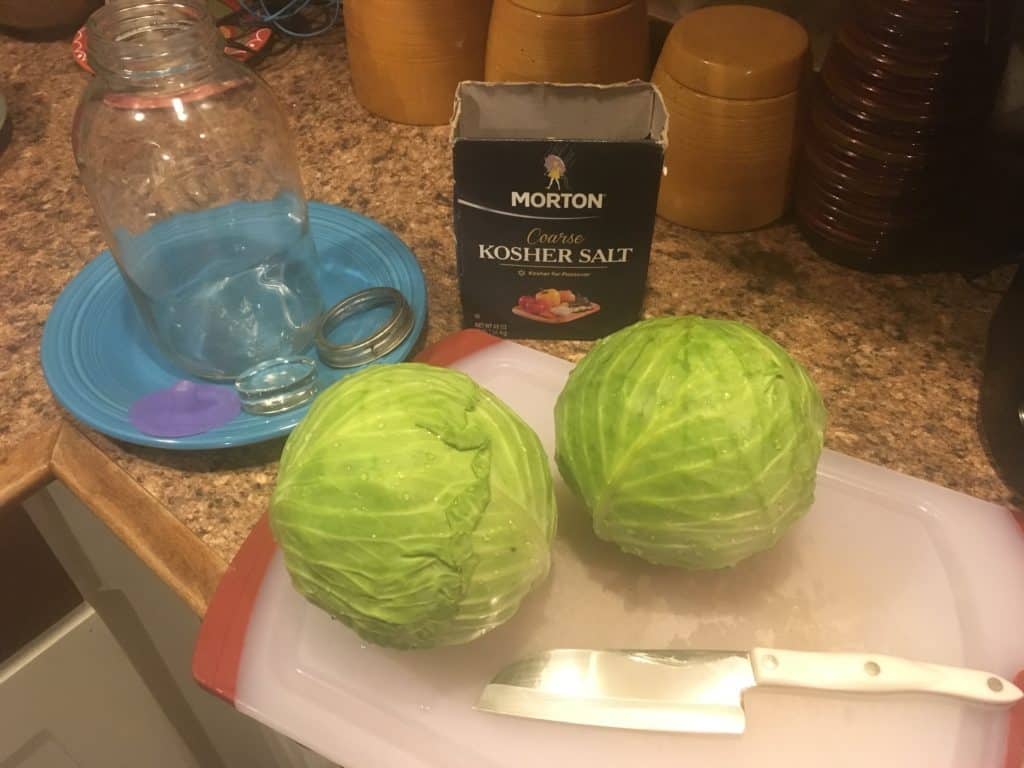
After that third failed batch in November 2017, I was determined to get it right. Since then, I have successfully made 3 batches of sauerkraut in mason jars using the Food in Jars recipe. I like to do a half-gallon jar at a time.
 The Equipment
What ended up working for me equipment-wise was Pickle Pipes and Glass Mason Jar Weights. You can get them on Amazon in handy 4-packs: Wide Mouth Pickle Pipes & Weights or Regular Mouth Pickle Pipes & Weights. I started out with the Regular Mouth type but recently bought myself a set of the Wide Mouth ones also. I think it is easier to get the finished product out of a wide-mouth jar, but it really is up to you.
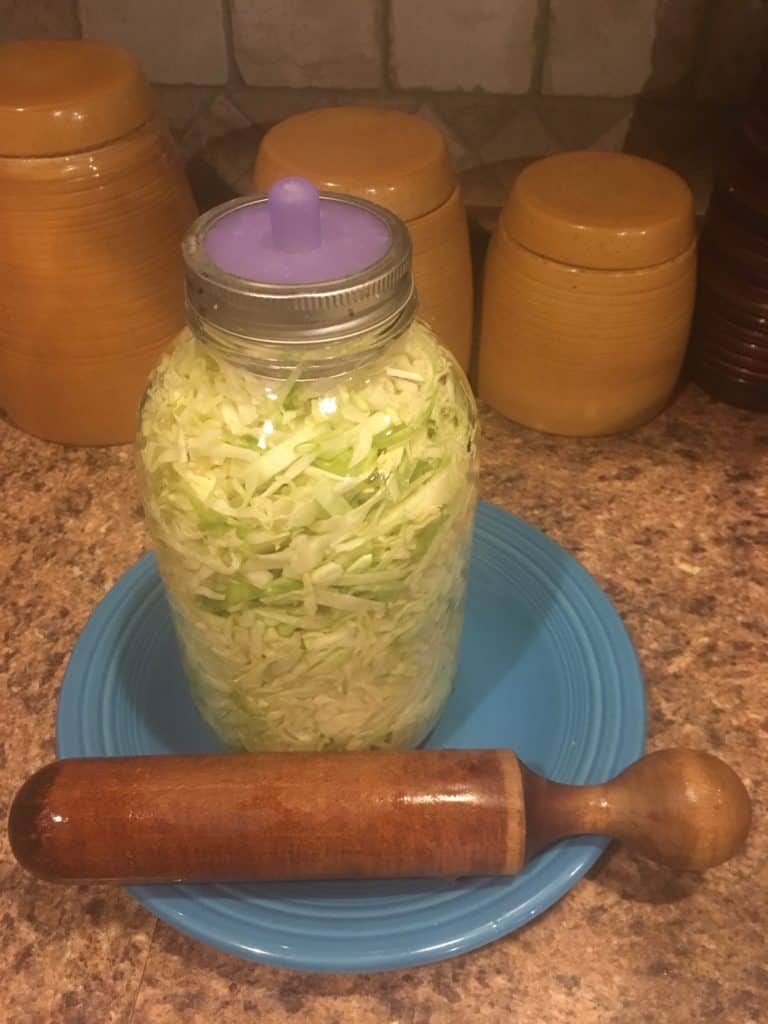
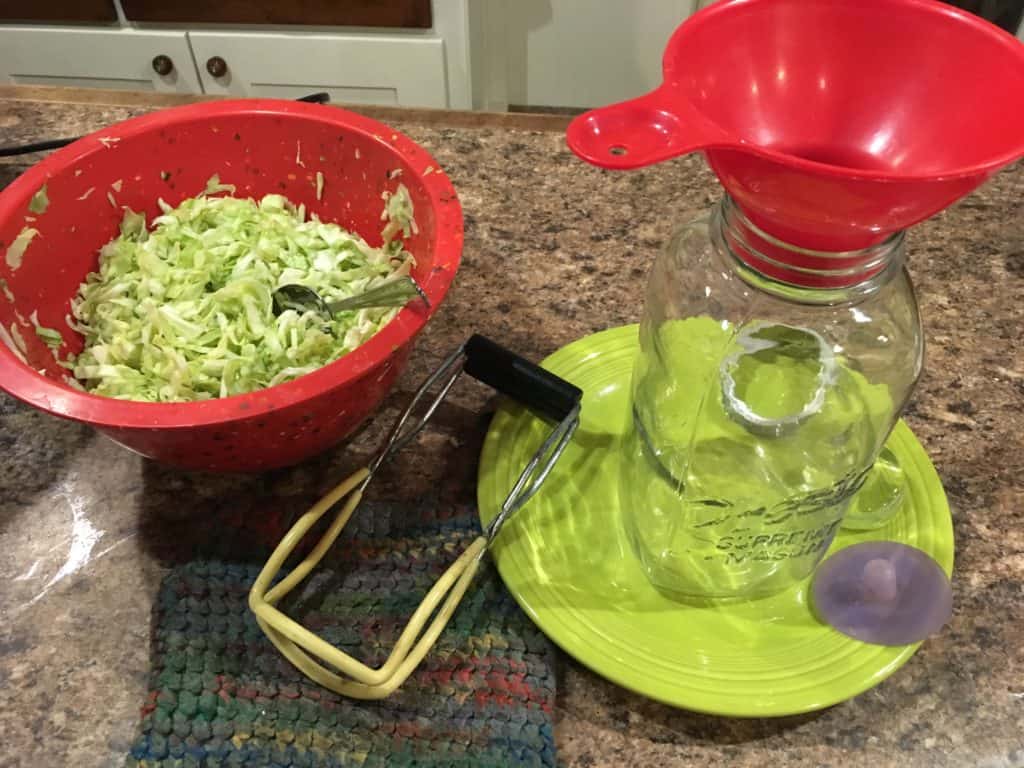
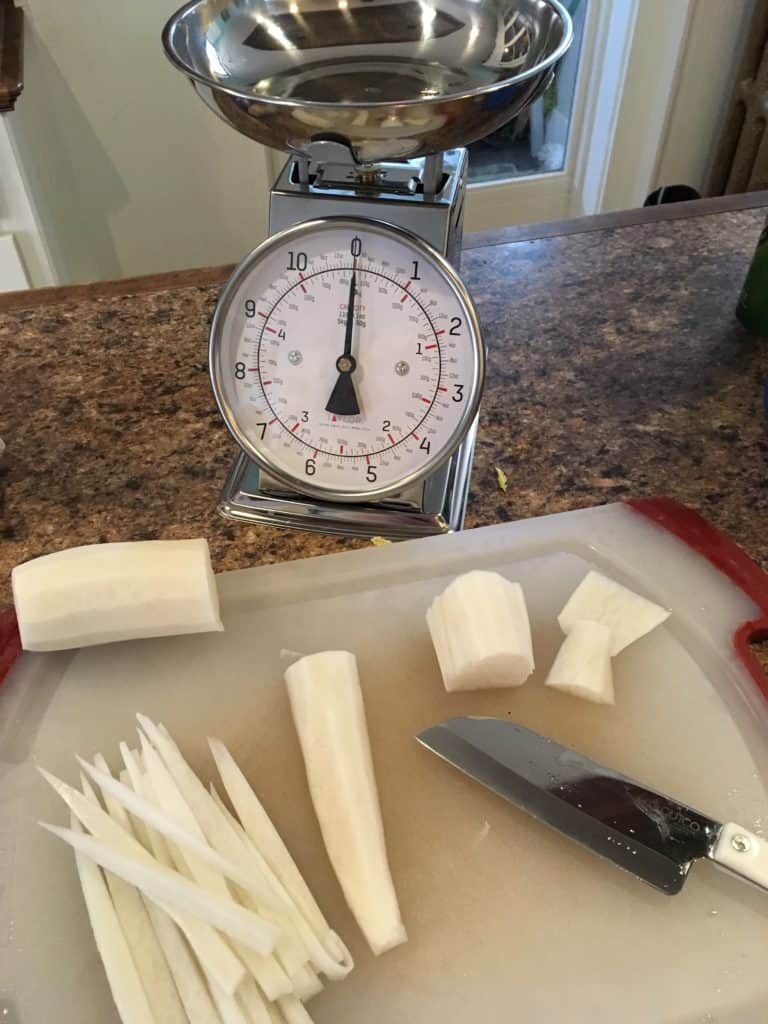
A few other pieces of equipment you will see in the photos throughout this post include: a canning funnel, the large red bowl from my ZAK Designs Mixing Bowl Set, my Tupperware Thatsa Bowl (32-cup), my Cutco chef’s knife, my vintage wooden sauerkraut tamper thingy from my grandma, my Taylor Stainless Steel Analog Kitchen Scale (11-pound capacity), my canning jar lifter. Having the right equipment is essential for getting your kitchen projects to turn out properly, as we have learned the hard way on more than one occasion.
The batch of sauerkraut I made a few months ago never made it past the refrigerator before we ate it all. On February 18, I decided the batch that I started on January 11 was done, and I put it into Quart-Size Freezer Bags and froze it. You can water bath preserve sauerkraut if you prefer, but that process kills the good bacteria. Again, it’s really up to you!
Kimchi
I’ve been talking about fermenting kimchi for over a year now, so I finally did it this month.
I wanted to ferment traditional kimchi, and I chose this Kraut Source recipe.
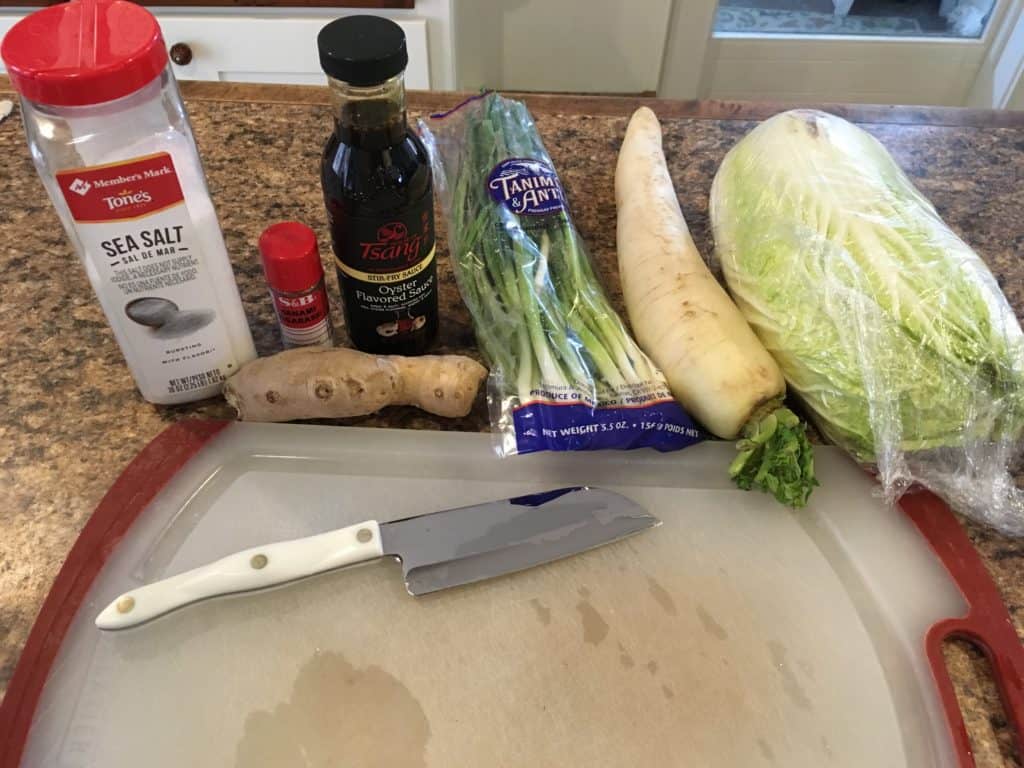
I purchased some Gochugaru online a few months ago, and I took a trip to our local Asian grocery store and found the Napa cabbage and daikon radish there.
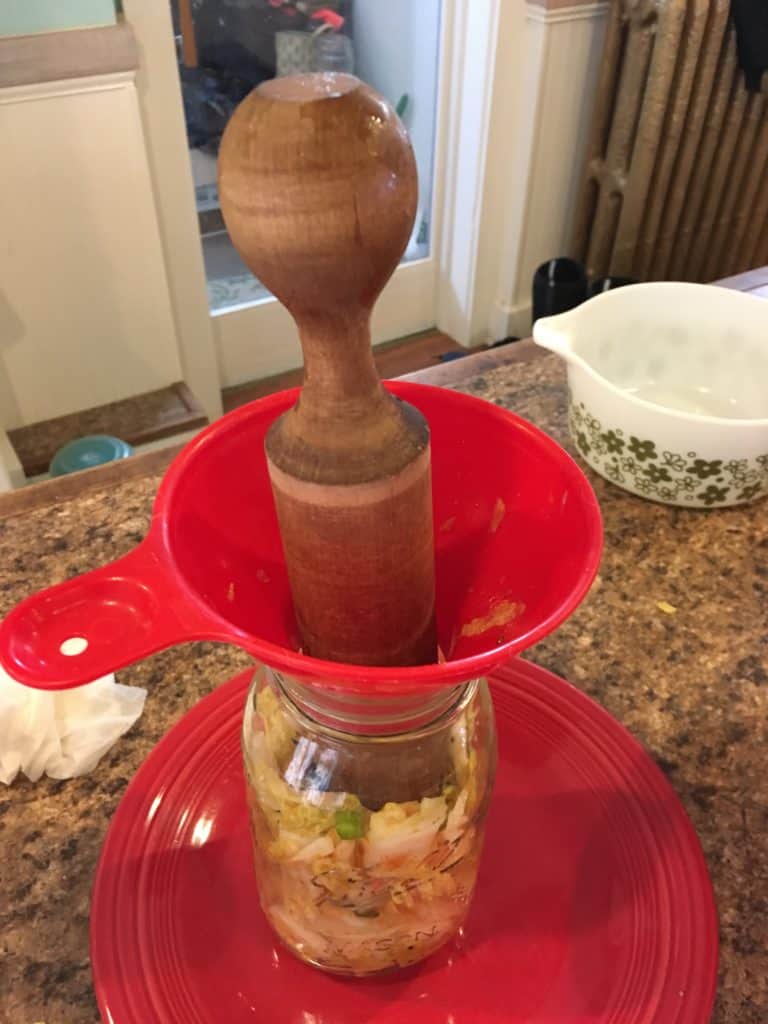 Other than that, the process for making kimchi is almost the same as for sauerkraut. Chop vegetables, mix with salt/seasonings, stuff in the jar, weigh down, and keep an eye on it to make sure everything stays submerged. I started my kimchi on January 27 and decided it was done and put it in the refrigerator on February 10.
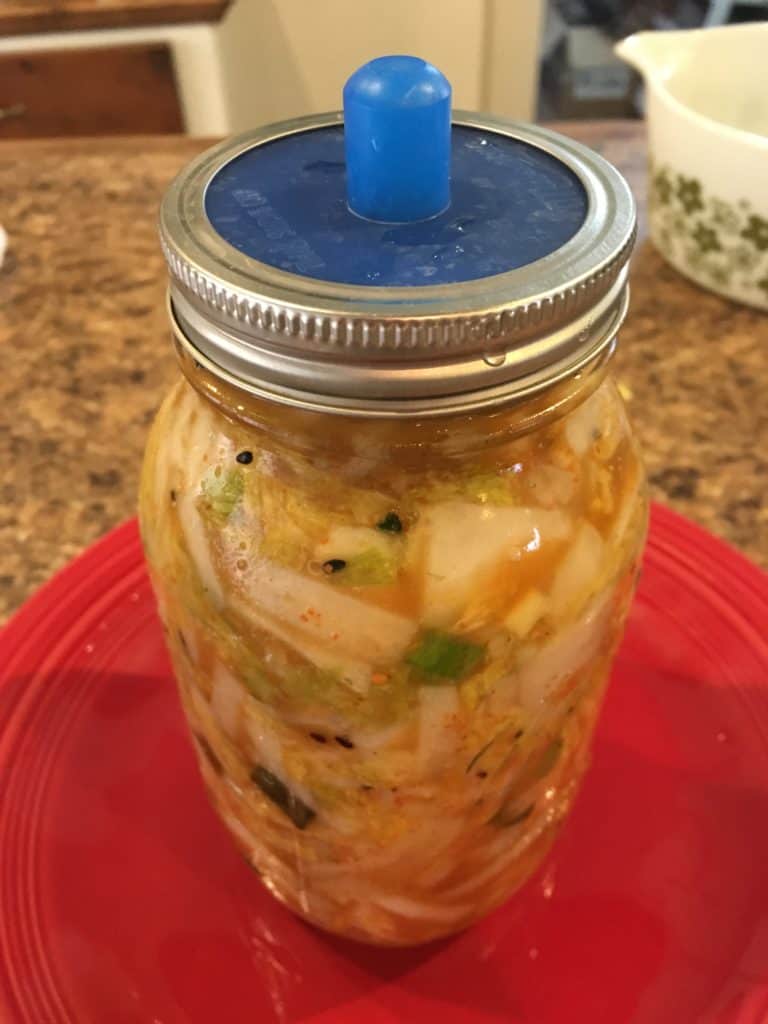
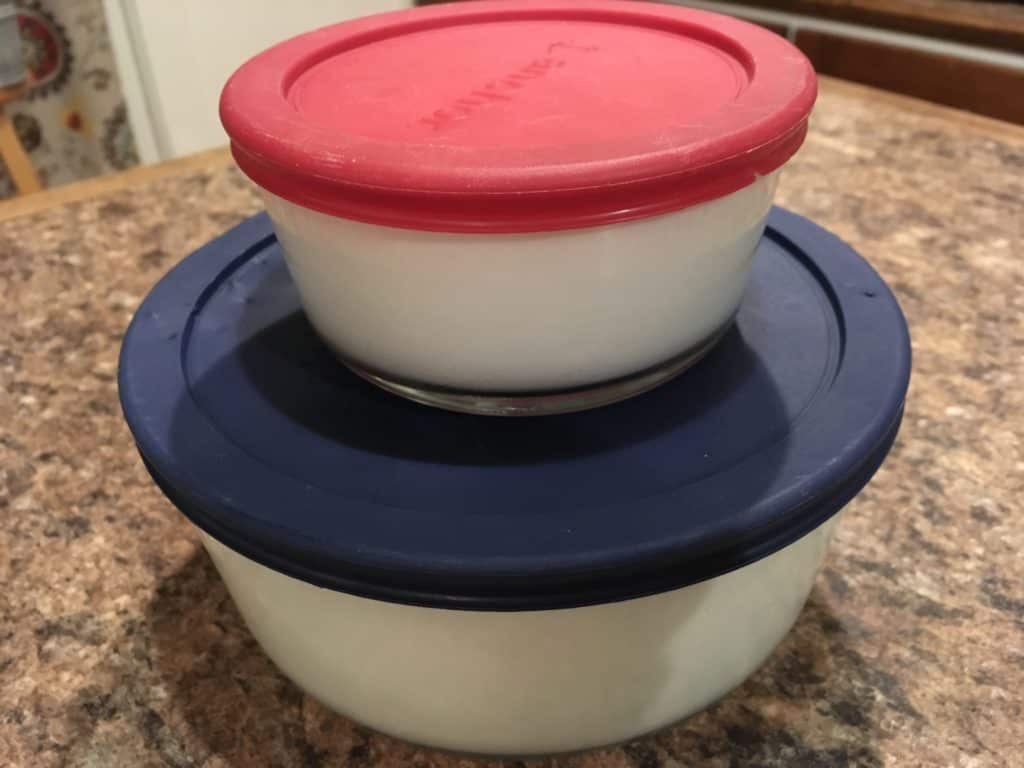
When my projects like this are ready for the refrigerator, I just replace the fermenting top with a regular plastic mason jar lid. These lids also work great for other jars of preserves once they are open – we use them all the time for our refrigerator full of miscellaneous mason jar goodies.
Fermented Dills
Last year, we unsuccessfully attempted to do a couple of jars of fermented dill pickles with the last of our garden’s cucumbers, so I also wanted to give those another try.
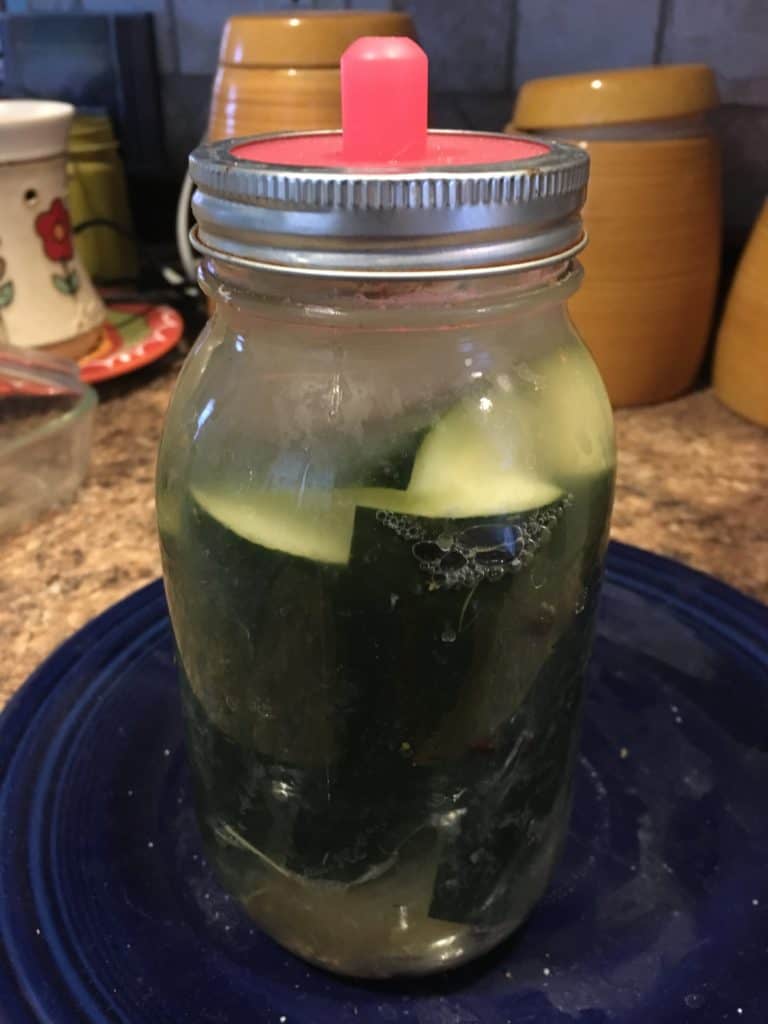 I used this recipe. For this batch, I started them on February 2. I decided they were done and put them in the refrigerator on February 18. One thing I know I would do differently next time is to put the dill in a cheesecloth pouch or maybe a tea bag – the fronds kept floating to the top and I spooned them out daily. If they were contained, it would have been much easier. These turned out I think, but we just really aren’t fans. I didn’t have any pickling cucumbers available since it’s February, and I just used regular ones from the store … but even at that, I don’t think these are for us. We prefer vinegar in our pickles, I think.
Sourdough Starter

Day #1
I also successfully created a sourdough starter using the King Arthur Flour recipe. This is a really interesting process that started with some flour, some water, a mason jar, a cloth towel, and a rubber band.
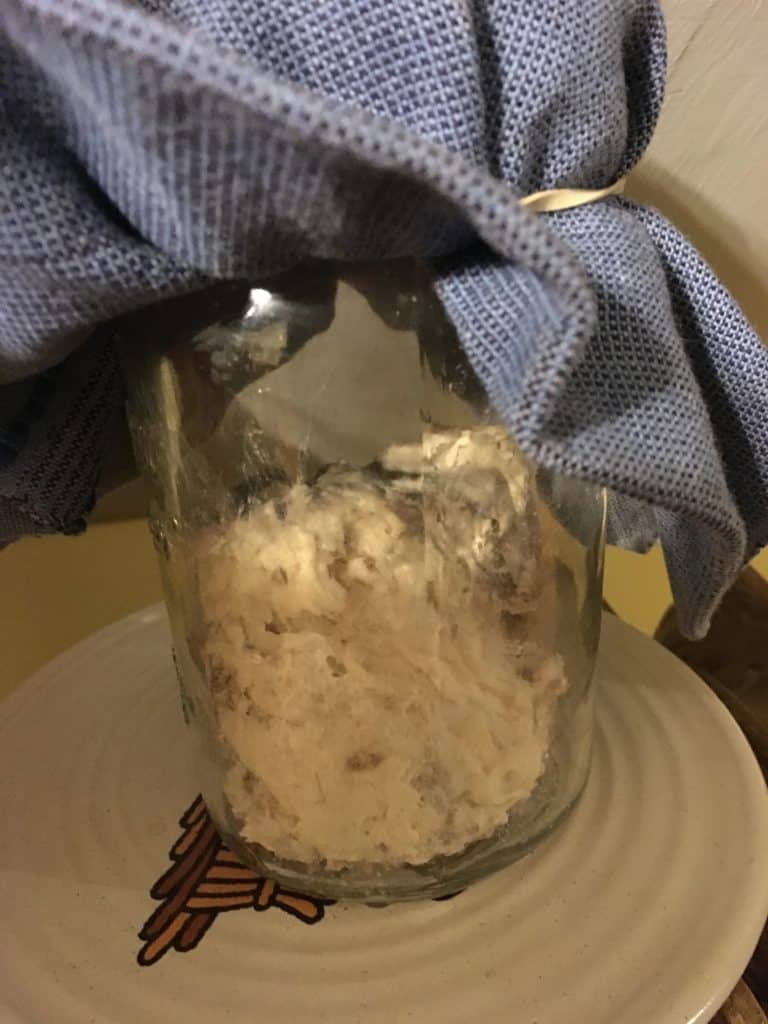
Day #3
For the first week, it is a high-maintenance project with daily and then twice-daily feedings. After that, it lives in the refrigerator to get fed and baked once a week. I started this on February 9 and put it in the refrigerator on February 17, so we are on a Sunday schedule. We don’t have a ton of experience at bread making in our house, so we are excited to learn more about it.
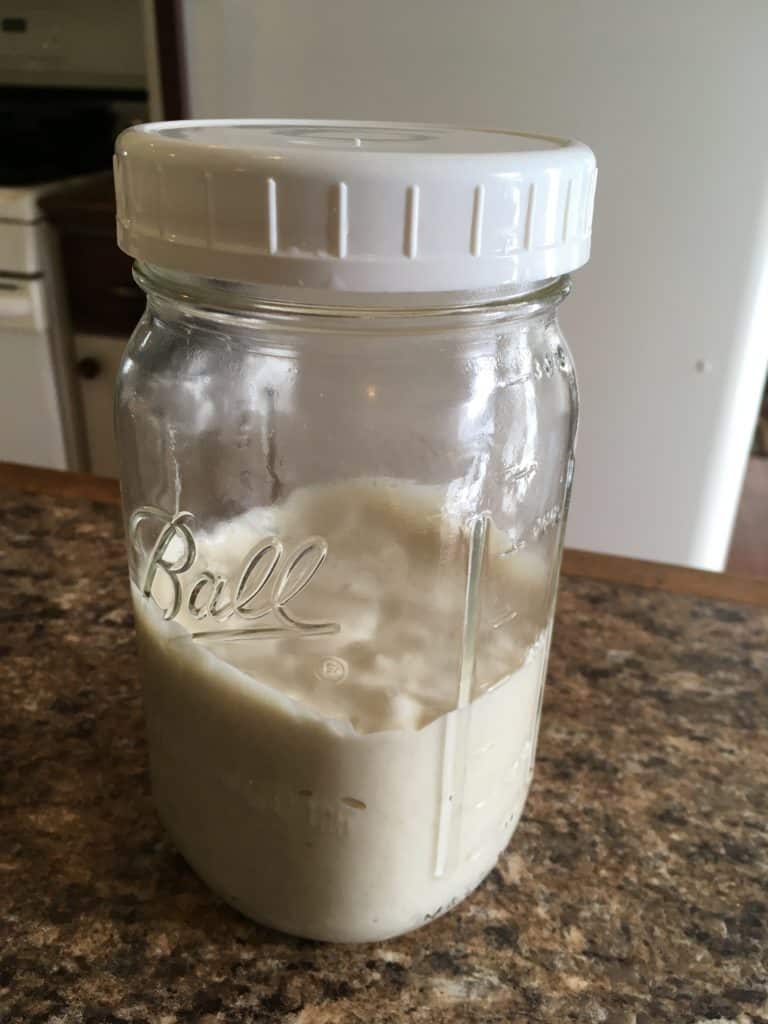
Using the Sourdough Starter
Day #8 I mixed a bit of discard in with a Bagel Dough Pizza Crust the other night and it was awesome! (We always use this recipe for pizza crust and we always bake it at 425 in my 12-inch Lodge Cast Iron Pan.)

I’m anxious to try Sourdough Waffles and also Sourdough English Muffins, among other things. There are some additional recipes I’ve saved to my Sourdough Recipes board on Pinterest if you’d like to check them out.
Homemade Yogurt
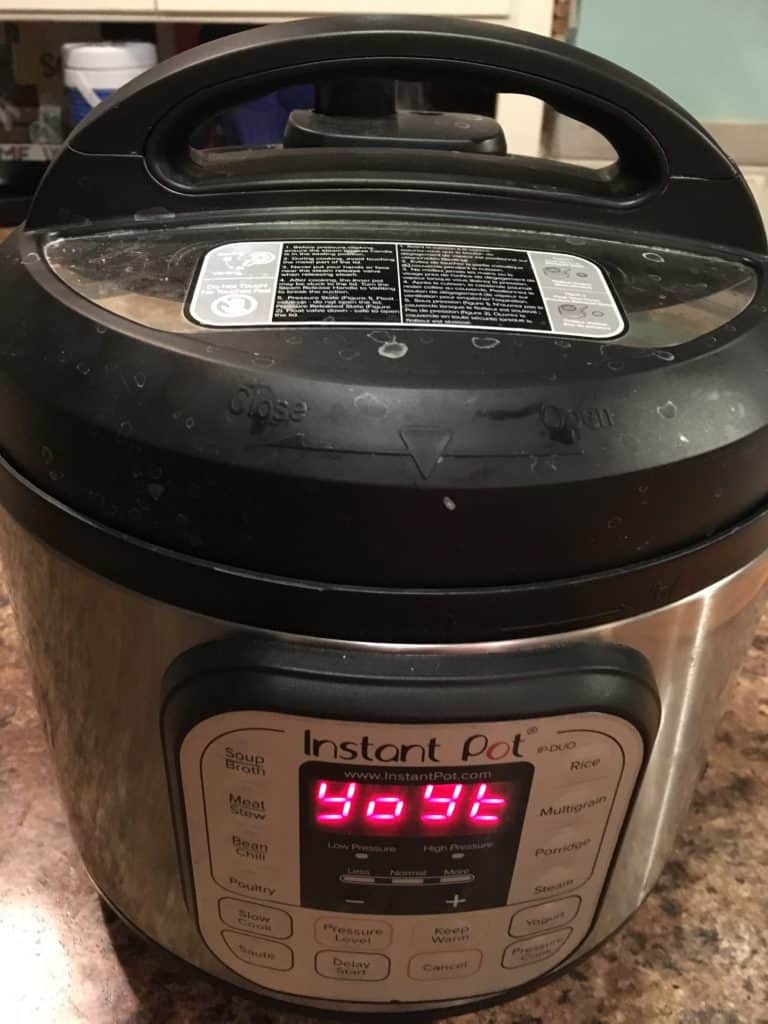
For my last February fermenting project, I made some homemade yogurt in my 6-quart Instant Pot using this Food Network recipe. A half-gallon of whole milk + a tablespoon of regular Greek yogurt from the store and some time, and we had yogurt! I followed the recipe directions and referred to my Instant Pot manual.
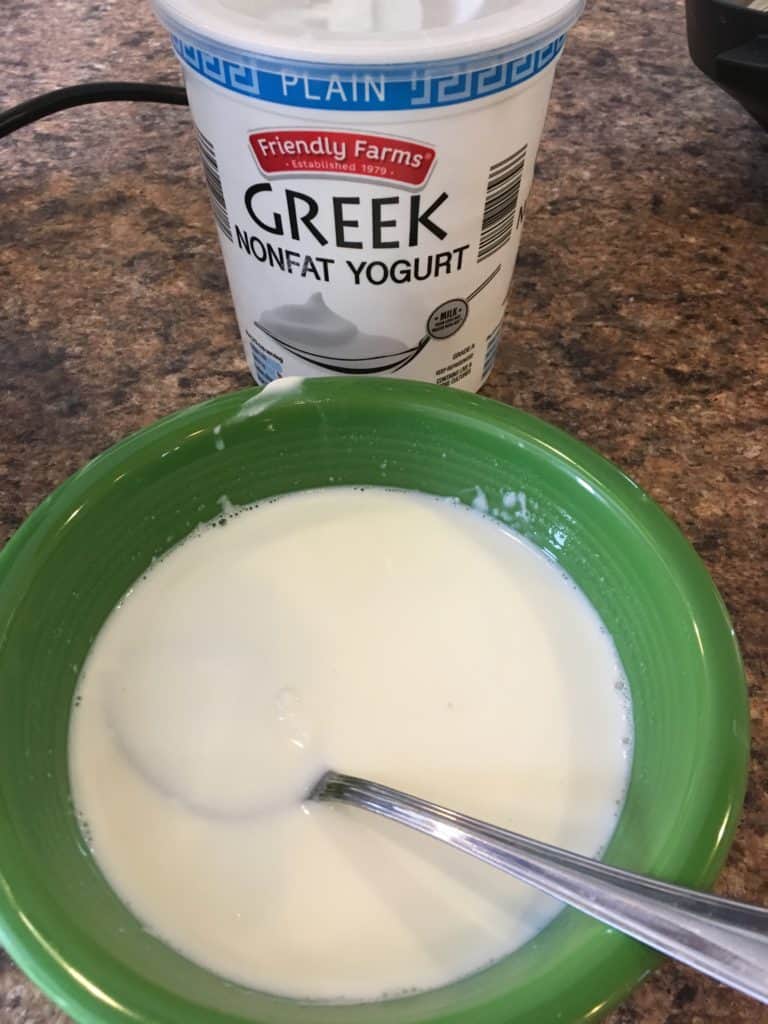
Rookie mistake: I did not time this properly at all! I ended up getting up at 12:30 am to turn the Instant Pot off and refrigerate the yogurt.
Lesson learned. NEXT TIME, I will know to start the process in the morning. See, we are learning so much from all this practice!
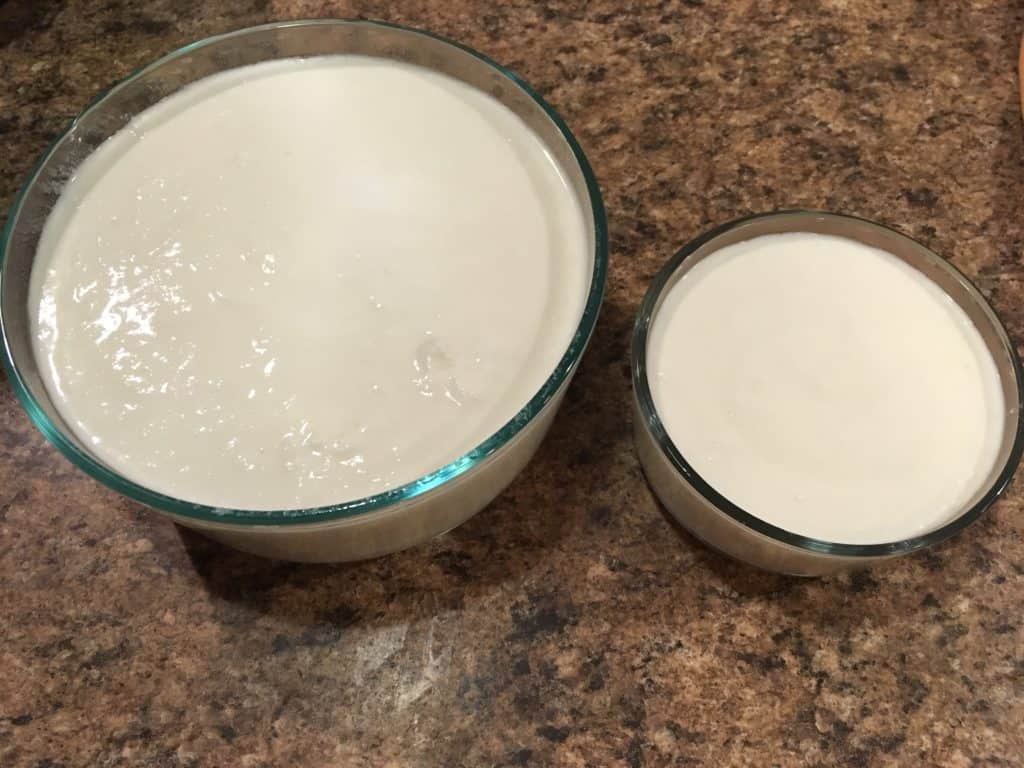 I actually did not strain it and haven’t flavored or sweetened it with anything either – we will do that as we eat. You can do so with vanilla, honey, jam, etc. Adding some jam from your pantry would be a great way to “use the jam!” As part of the January Mastery Challenge, I made some Meyer lemon curd, so you could also mix some of that into your yogurt as well.
Fermenting Chicken Feed
I have read about fermenting chicken feed, so I am going to try that at some point for our four chicken ladies. Much like it does for humans, it gives them a healthy gut and aids in their digestion. It also gives their system an immunity boost, and can also increase the egg weight and shell thickness.
Kombucha
Though I am kind of scared of it, I also want to try brewing kombucha. I’ve been buying it at Aldi recently and enjoying it, but in the spirit of learning new things, I would like to try making it. I have a friend who offered to give me some of her SCOBY when I’m ready to get started. Once I get brave enough for that, I’ll likely be sharing about that process at some point. SCOBY stands for “Symbiotic Culture of Bacteria and Yeast” and it’s essential for the fermentation of kombucha. This is a great article from Souly Rested about kombucha.
I’ve saved the recipes I’ve mentioned here as well as some others I’d like to try to my Preserving: Salt/Ferment board on Pinterest if you’d like to check them out. If you make any of them, let me know in the comments how they turn out!
The only way to learn how to do it is to TRY IT. Happy Fermenting, friends!
For more blog posts like this one, click here.
Frequently Asked Questions
What is food fermentation?
Food fermentation is a preservation process where beneficial bacteria and yeast transform foods over time, creating flavors, texture changes, and natural probiotics.
What foods can be fermented at home?
Popular home fermentation projects include sauerkraut, kimchi, yogurt, sourdough starter, pickles, kombucha, and fermented vegetables.
What equipment is commonly used for fermentation?
Many home fermenters use mason jars, fermentation lids, glass weights, kitchen scales, funnels, and clean non-reactive containers for their projects.
Why do people ferment foods?
People ferment foods for flavor, preservation, probiotic benefits, reducing food waste, and learning traditional food preparation skills.
What is a sourdough starter?
A sourdough starter is a live mixture of flour and water that naturally captures wild yeast and bacteria, allowing homemade bread and baked goods to rise naturally.