We Love Bananas!
Bananas, oh how I love thee. Seriously, friends – it is a rare but sad day when there aren’t some bananas in my kitchen. We almost always have fresh ones on hand for eating plain, slicing into a bowl of yogurt, blending into a milkshake, etc. When they get too ripe to eat, we throw them into the freezer (whole, with peelings on) and use them in smoothies or baked goods later.
Don’t be scared if you freeze them whole, because the peelings will turn black – but it’s fine! When we take them out to use, a quick 30 seconds in the microwave thaws them out enough to get the banana goodness to slide easily out of the peel.
How to Make Dehydrated Banana Chips

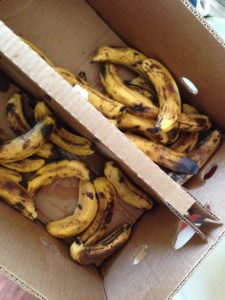
The primary focus of today’s post, though, is how to make your dehydrated banana chips. I work at a healthcare facility and from time to time, the kitchen ends up with an abundance of overripe bananas and they share the wealth with staff. I bring them home sometimes, and either I make banana chips in the dehydrator, or my husband makes wine.
Banana Wine
When he makes wine with them, it’s a tropical wine made with bananas, peaches, apricots, pineapple, mangoes – whatever we have available. When it’s done and we drink it, we mix it with a splash of rum and whatever tropical fruit juice we have on hand. I suppose it’s some sort of tropical summer sangria, and it is so good!
Back to the Banana Chips
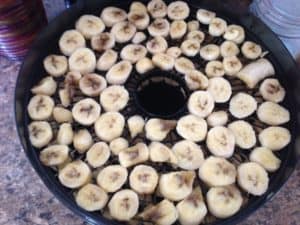
The last couple of times I’ve brought them home though, or sometimes rescued them from the discount cart at the grocery store, I’ve made banana chips. To start out, I take the bananas and slice them into 1/4″ or so thick slices. You want to try to get them as uniform as possible so they all get done in about the same amount of time.
The first time I did it, I used this blog post from The Prairie Homestead as a guide, but I skipped the lemon juice part. I slice them and lay them on the dehydrator trays. No oil, no butter, no lemon juice – nothing. I suppose mine may turn a bit browner than they would if I did the lemon juice part, but it doesn’t bother us. We usually eat them pretty quick anyway so it doesn’t matter that much. If I were to do anything different, I might sprinkle them with a dab of cinnamon and/or brown sugar!
 The dehydrator we have is an older style round one. It works fine, but it has been used so much that the plastic bottom is cracked almost all the way through.
My husband uses it for various wild game jerky. I use it for mushrooms, bananas, and other fruits and vegetables. This Nesco Gardenmaster is on my wish list, I plan to purchase it soon!
I Make Dehydrated Mushroom Slices, Too!
Sidenote: When baby Bella mushrooms go on sale or when Fresh Farms USA has them available in our area, I buy a bunch and slice and dehydrate them just like this banana process I’m sharing today.
When they are done, I store them in freezer bags, and rehydrate them for use in all kinds of things and the rehydrating water makes amazing mushroom “juice” to add to whatever you are cooking.
But, Back to the Banana Chips
As I slice them, I lay them all out on the dehydrator trays. I plug the dehydrator in and let it start working. The one I have now doesn’t have a temperature adjustment dial. It is either plugged in and on, or it’s not and it’s off. Pretty complex, huh?!
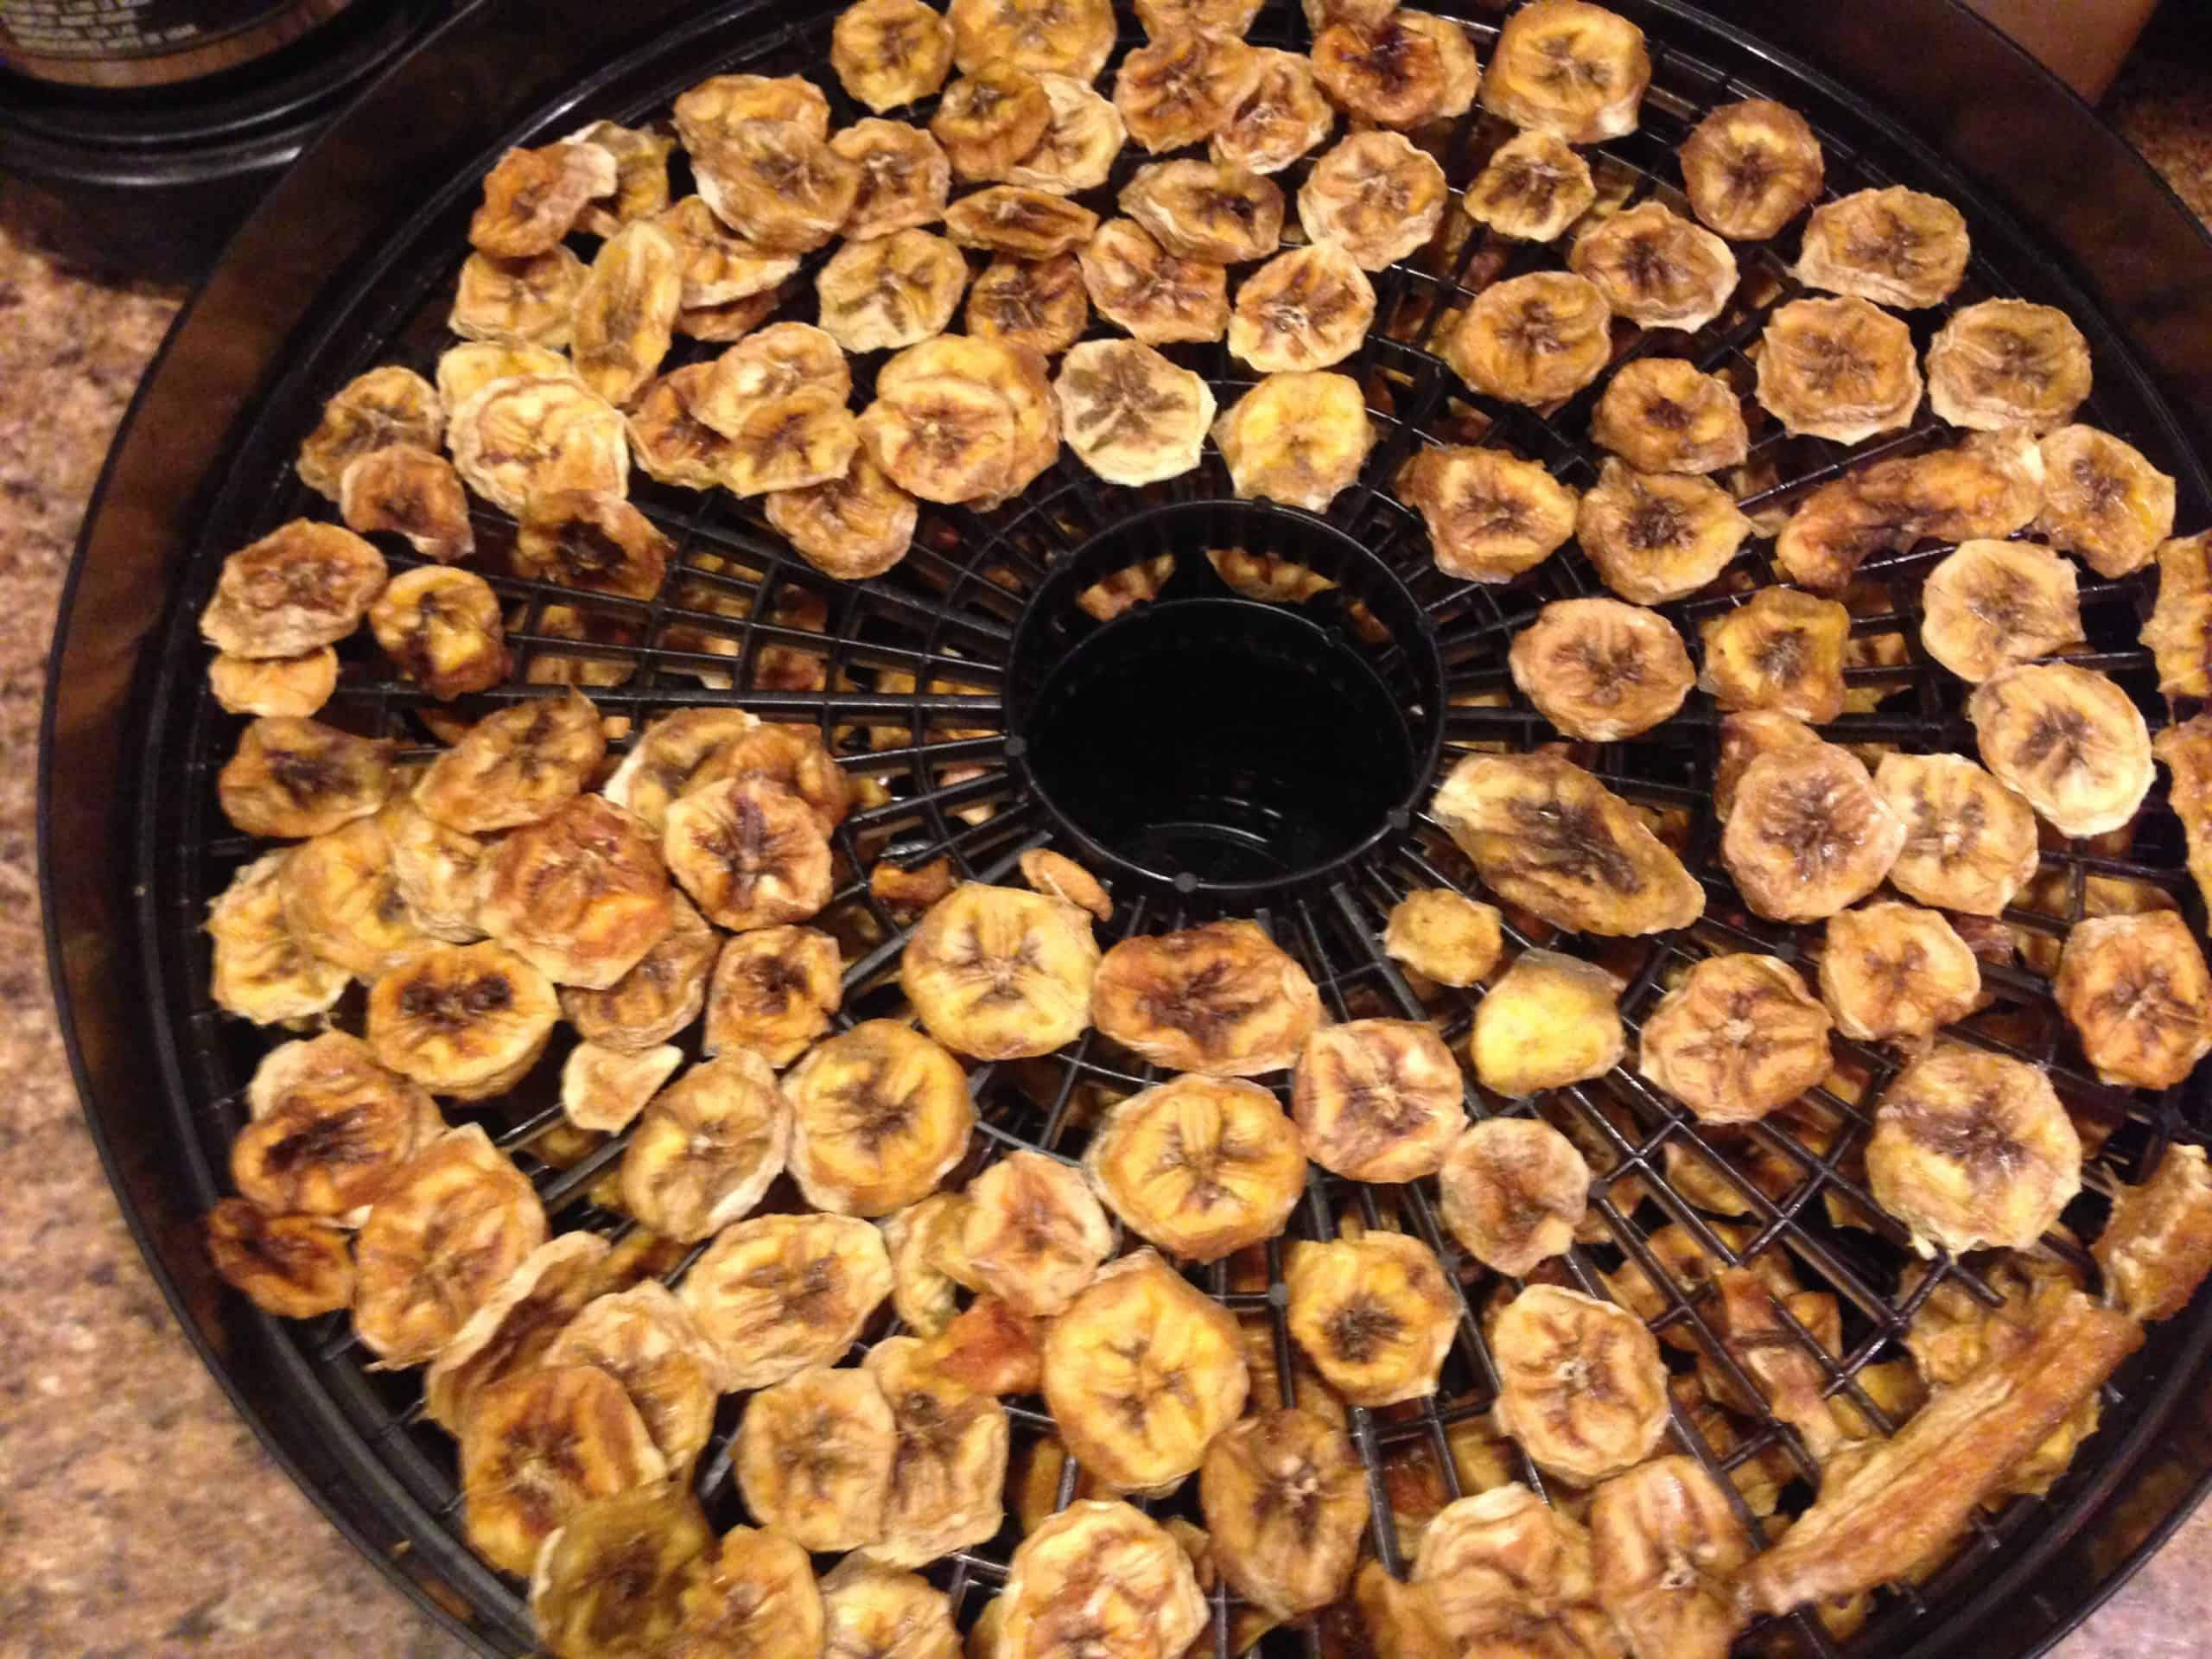
I rotate the trays about every 4-6 hours to help the slices get done evenly. In my dehydrator, they end up in there for probably 24-36 hours total. I’ve seen recipes for things that say 6-8 hours etc. and their dehydrators must be better than mine (ha!)
When they are about halfway through their dehydrating time, I do flip all of the slices over. I think this prevents them from sticking to the trays too much. I’m not sure if this part is necessary or not, but it’s how I do it and I don’t ever have trouble getting the slices to come off the trays.
When Are the Banana Chips Done?
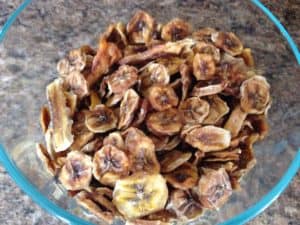
To determine when they are done, you want most of the moisture to be out of them. Keep in mind that as they cool they will get crunchier. I usually turn the dehydrator off when they are still a tad soft and somewhat rubbery in texture. They will harden a bit more as they cool. We like them a bit chewy, so ours aren’t as crunchy as what you would buy in the store.
If you don’t dehydrate them for long enough, you have to worry about too much moisture causing mold once they are stored in your airtight container. A good way to test this is by “conditioning” them. This means you put them in an airtight bag for 24 hours after you take them out of the dehydrator. If they feel the same as they did, they are done. If they feel stickier or tackier in any way, they need to dehydrate for longer. You will get a feel for how done is the right amount of done. In my opinion, being too done is better than not doing enough!
How to Store Banana Chips
Once they are done, let them cool completely, and store them in an airtight container. If you are worried about the moisture/mold factor, you could toss them in a freezer bag and freeze them for longer-term storage like I do my mushrooms. The beauty of them being dehydrated is they take up SO MUCH less space!
What Do You Do with Banana Chips?
Mostly we just eat them plain as snacks. You could mix them with walnuts, dark chocolate, and raisins or craisins for a homemade trail mix. Or, you could chop them up and use them in pancakes, muffins, bread, granola, etc. When using them in baking, you could rehydrate them first. This would make the texture softer for using them in baked goods.
Side Story Ahead, but It Is Relevant.
I Promise …
When I graduated from college, I moved to Galveston (TX) with a friend and classmate. We lived there for 2 years and had lots of great times with some of the most amazing people. Ya’ll know who you are if you are reading this!
Anyway, being 21-22 years old at the time, our cooking skills were minimal and our desire to be better at cooking was low. My breakfast most days consisted of a cold bagel out of the package without anything even on it. I ate in the car on the way to work, which I was usually late for. Some things never change.
I have no idea what brand it was, but there were these banana nut bagels at the grocery store there. They were amazing. Cold, untoasted, un-cream-cheesed, and amazing. I think about them now and drool over how delicious they would be if they were toasted with peanut butter and strawberry jam on them.
“Skinnytaste” Greek Yogurt Bagels
 So, this is where the relevance comes in – I’ve been making these 2-ingredient Skinnytaste bagels lately, which are not only super easy but delicious and healthy too!
I usually use Everything Bagel topping (which I make from this recipe except with quite a bit less salt) on them, and we use them for breakfast sandwiches or avocado toast lunch.
With this latest batch of dehydrated banana chips, I do believe I’m going to attempt some Banana Nut bagels. I’ll take some of the banana chips and some walnuts, pulse them in the food processor, and mix them into the dough. I will be trying this very soon!
If you make your dehydrated banana chips, let me know how you like them in the comments below!
For more blog posts like this one, click here.


Pingback: 11 Easy Healthy Snacks - Clean Living With Kids