Though I usually make my jam with pectin and my water bath canner, I wanted to share this recipe for you today that can be preserved in the freezer!
I make all of my jams low-sugar with organic pure cane sugar, and I normally use Pomona’s Pectin. For today’s freezer jam recipe, know that you can increase the amount of sugar or honey per your family’s taste, but I encourage you to try it this way first. Low-sugar jam is a great way to really taste the fruit, and it is healthier for you too!
Easy Strawberry Freezer Jam
Yield: Approximately 6 cups of jam
Ingredients:
- 4 cups chopped fresh (or frozen) strawberries (about 2 pints or 1.5 pounds whole berries)
- 1 cup pure cane sugar or 1/2 cup honey – your choice
- 1/4 cup lemon juice
Preparing your Berries for Jam
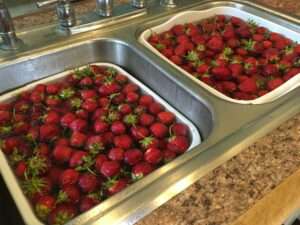 If Using Fresh Berries:
First, wash your strawberries. I prefer a baking soda bath because it helps remove any potential chemicals (even organic fruit can have trace amounts of chemicals). To do this, dissolve 1 teaspoon of baking soda in a large bowl of water. Add your strawberries and let them soak for a few minutes, then gently rinse and strain them in a colander.
Next, remove the hulls from your strawberries and chop them into small pieces. How small or large you cut them depends on your preference. You can also mash them further with a potato masher or something similar. I usually leave mine alone, as they will break apart more during cooking.
If Using Frozen Berries:
Assuming your berries were washed and had the stems removed before they were frozen, all you have to do to make jam with frozen berries is take them out of the freezer and put them in a bowl. As they thaw, they will produce a strawberry juice in the bowl. DO NOT drain this off – you want that goodness in your jam. Let the berries thaw for a while before chopping them (if they are whole.) Chopping them before they thaw entirely works well because they will be easier to chop. Wait until they have been out of the freezer for an hour; by this time, you should be able to slice them easily with a knife.
Now, We Make Jam!
Once you have chopped your berries, mix them with the lemon juice and sugar in a non-aluminum saucepan. When cooking acidic foods, the aluminum can leach into the food and give it a metallic taste. Some people prefer not to cook with aluminum at all, to prevent any metal from leaching into the food. I personally always cook my jams in my enameled Lodge Dutch oven and find it works great!
Note: If you are using honey instead of sugar, don’t add it yet. Heating the honey past boiling can destroy the enzymes and some of the nutrients that are naturally found in honey.
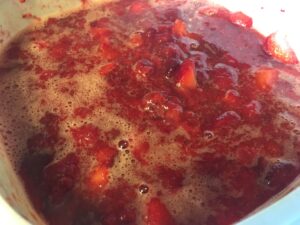
Bring the mixture to a boil over medium-high heat while stirring occasionally. Once it comes to a boil, reduce the heat to medium-low and simmer for about 15 minutes. It should thicken up a bit during this time but will continue to thicken some as it cools.
If you use honey instead of sugar for sweetening, stir it in after you turn off the heat. Make sure to stir it in thoroughly so it blends completely.
Once your jam is cool, you can store it in the freezer!
Store your jam in plastic containers with airtight lids if you’d like. You can also store it in glass jelly jars, but be careful to only use jars without a neck that have straight sides – and don’t fill them too full (leave at least ½ inch headspace.) I recommend storing for up to 6 months. If any frost gathers on top of the jam, you can scrape or rinse it off the top before using it. If you keep a jar in the refrigerator, it should be used within a week or two to prevent spoilage.
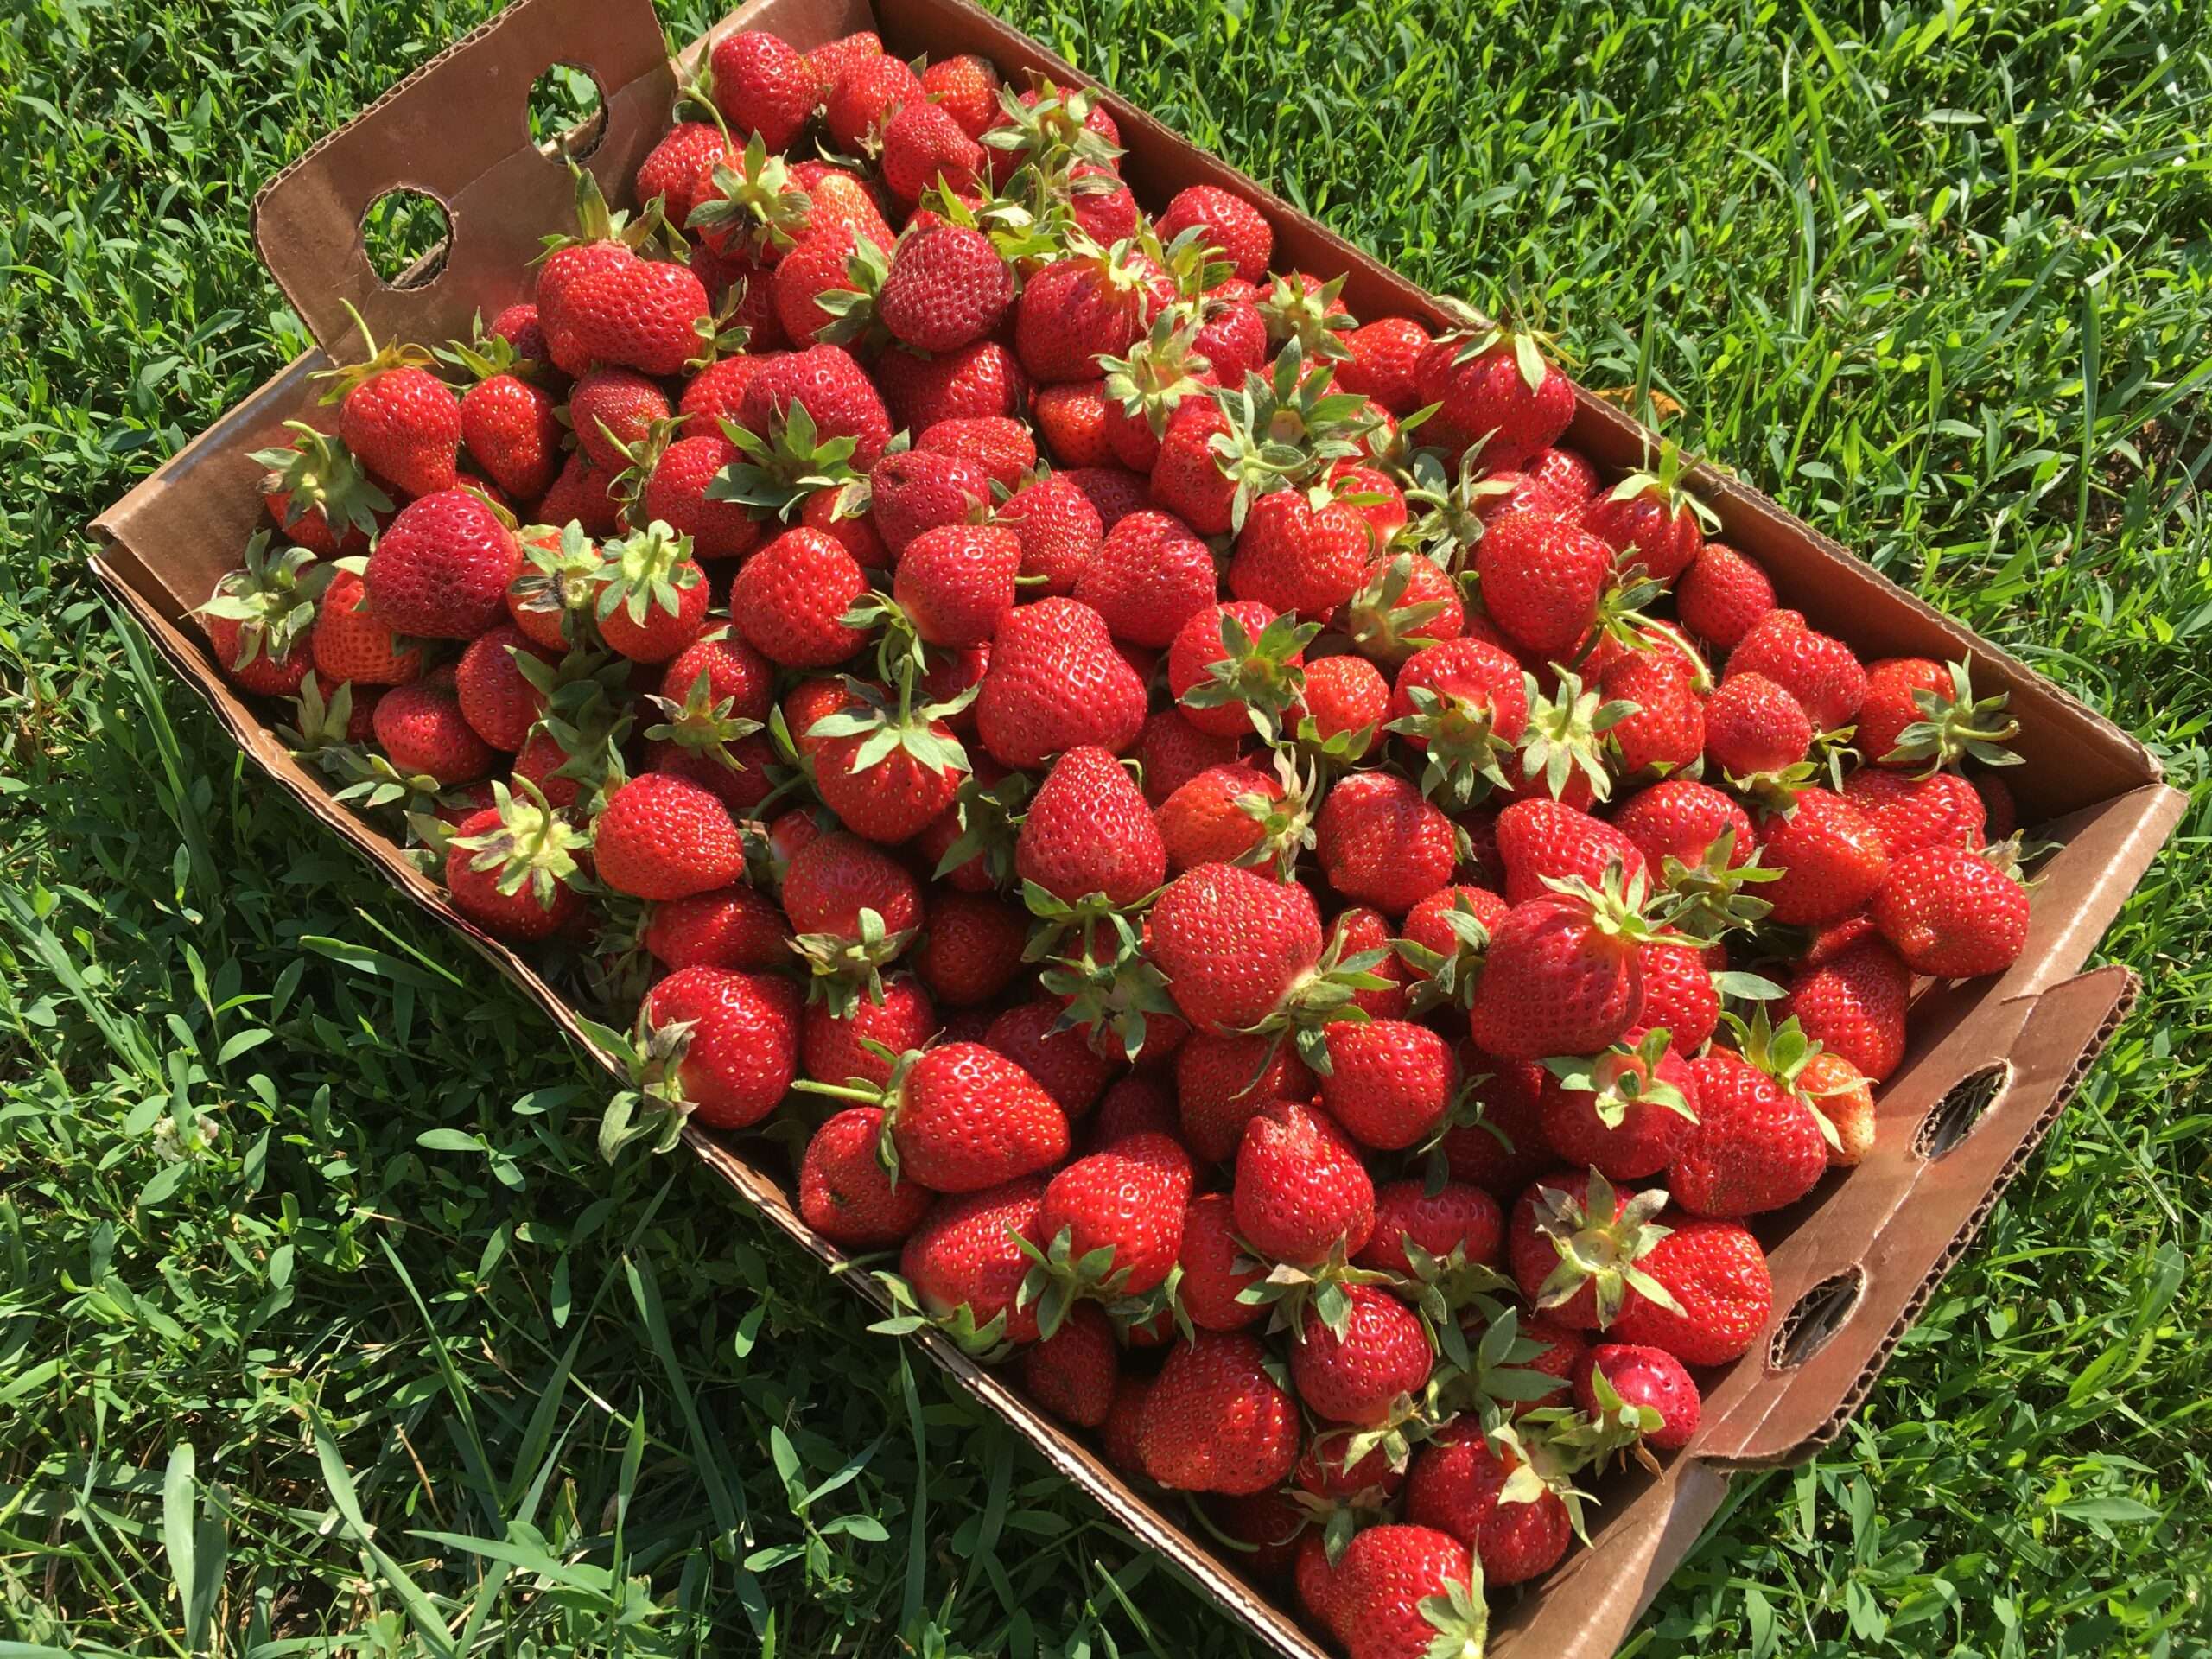
Picking strawberries and making homemade Strawberry Jam is fun. I’ve learned a lot along the way and I love sharing it with you!
Learn more about how to get started with food preservation.
Frequently Asked Questions
Can you make strawberry jam without pectin?
Yes. Strawberry jam can be made without pectin by simmering strawberries, sugar, and lemon juice until the mixture thickens naturally. Freezer jam is a simple option that does not require added pectin.
Can I use frozen strawberries to make freezer jam?
Absolutely. Frozen strawberries work well for freezer jam. Be sure to keep any juice released during thawing, as it adds flavor and helps create the proper consistency.
How long does homemade freezer jam last?
Homemade freezer jam can be stored in the freezer for up to 6 months. Once thawed and refrigerated, it is best used within 1 to 2 weeks.
Can I use honey instead of sugar in strawberry freezer jam?
Yes. Honey can be used as a natural sweetener in place of sugar. For best results, stir it in after cooking to help preserve its natural flavor and beneficial properties.
What containers are best for storing freezer jam?
Freezer jam can be stored in airtight plastic containers or straight-sided glass jars. If using glass jars, leave at least ½ inch of headspace to allow for expansion during freezing.