Food preservation can be kind of intimidating if you have never done it before. It’s hard to know exactly how to get started. I thought it might be helpful if I put together a list of my favorite products that I use for various methods of food preservation.
I’ll tell you a little bit about each food preservation type here and include some of my recommendations for what you will need to get started.
Canning Jars, Lids & Rings
There are a variety of items that are helpful to have in your kitchen, for a number of canning projects. Of course, you will need mason jars, lids, and rings. The size of jars you will need depends on what you are going to make. I usually have some of all sizes on hand, so whatever project I go to do I already have what I need. To start out, you will likely want jelly jars, pint jars, and quart jars. I also like to buy the half-jelly jar (4-ounce) size, they are really great for gift-giving.
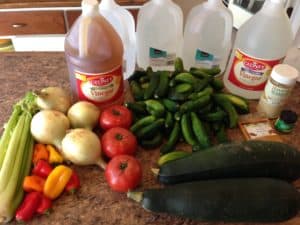 Most jars come in both regular and wide mouth – what you choose is up to you, but I find that I prefer to use primarily regular mouth jars. However, there are a few things that work better in wide-mouth jars – meat, potatoes, and pickles are what I have found work better in them.
You will also need canning lids and rings. For the lids, I prefer to use Lehmann’s Canning Jar Lids. They are available in regular and wide mouth, are BPA-free, and work well for me. Choosing lids that you know are going to seal well is important because canning is a lot of work and you don’t want your work wasted because your lids don’t seal properly.
The rings will come with the jars if you buy them new, otherwise ,you can get them in stores that carry canning supplies or online. I have a large bag of them in my house – since it isn’t recommended to store the finished canned goods with the rings on, you really only need 2-3 dozen rings at any given time, depending on how much you are going to can in a day. Once the jars are sealed and cooled, you remove the rings for storage.
Other Food Preservation Supplies
You will need a Canning Jar Lifter for getting the jars in and out of your processing pot, and a Stainless Steel Canning Funnel for putting your product into your jars.
Canning & Pickling Salt
In addition to the food you are preserving, you will many times also need Canning & Pickling Salt. Kosher salt will also work, but I usually use the specific Canning & Pickling kind. You should be able to find it in most grocery stores with the regular salt.

Sugar
You will also need sugar for many things you might want, and I like to use Zulka Sugar. It’s natural cane sugar and doesn’t contain bone char like most processed sugars.
Pectin
If you are making jams and jellies, you will also need pectin. There are a variety of brands and types of pectin available, but I prefer Pomona’s Pectin. It is made for reduced/low-sugar options, and I make all of my fruit preserves low-sugar. Pomona’s isn’t widely available in stores, so I get mine on Amazon – they have a 6-pack or 3-pack available. Don’t let the price scare you, one box is plenty for several batches of jam or jelly.
Clear Jel
Another item that you may need will be Clear Jel. Unless a recipe has been specifically tested and approved for canning with flour or cornstarch, these products shouldn’t be used in home canning. Clear Jel is being used instead and also replacing the flour and cornstarch in previously approved recipes. Don’t just go adding Clear Jel willy-nilly to whatever canning recipes you want – you still only want to use it when it’s in the recipe. Some examples you might use it for are certain sauces and pie fillings.
Acid
For certain recipes that you may water bath, usually with tomatoes, you may need to add citric acid, lemon juice, or vinegar to confirm proper acidity. Just keep an eye on your tested recipes, they will tell you what to do.
Herbs & Spices
I can’t share about all of my favorites without giving a quick shoutout to Penzeys Spices. Their spices are high quality, and reasonably priced, and they run awesome promotions regularly. I buy a lot of my spices and herbs from them for my canning – mustard seed, mustard powder, turmeric, cinnamon … you name it. They have a huge selection, and I love that you can buy it in larger-sized bags as well.
Kitchen Supplies Handy for Food Preservation
 Food Strainer
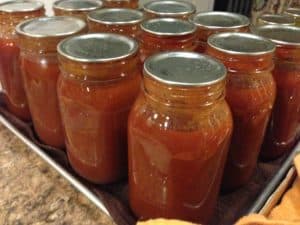
If you want to make tomato sauce, salsa, applesauce, etc. I highly recommend the Victorio Deluxe Food Strainer and Sauce Maker. This thing is amazing, and makes really fast work of large volumes of tomatoes! It does not, however, work for separate grapes from the stem for winemaking. Just trust me on that one.
 Kitchen Scale
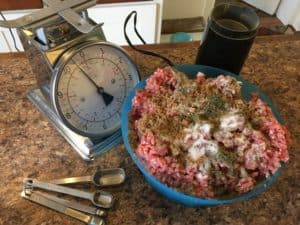
A kitchen scale is also something you will need, for the weighing of various fruit and vegetables for recipes. Jam, sauce, salsa – lots of recipes call for fruit or vegetable by weight before you clean and process them. We also do a lot of sausage and jerky making in the fall and winter, so our scale gets used for many different things in our house.
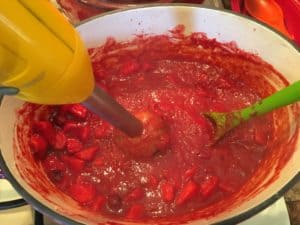 Immersion Blender
Also for sauces, I find my immersion blender to be awesomely handy in my canning projects. For various sauces, salsas, and fruit butter – once they have cooked down to a certain point, you just drop this tool in and it helps make it so smooth.
Food Processor
If you don’t have a food processor, you may want to consider getting one. They are handy for slicing, shredding, and chopping all kinds of things – onions, peppers, zucchini, rhubarb, cranberries, etc. If mine broke, I’d buy another one tomorrow.
Enameled Cast Iron Dutch Oven
As far as jam making goes, I always make my jam in my Lodge Enameled 4.6-quart Dutch Oven. I have never once burned a batch of jam or sauce when I use this pot, and it always cleans up so easily.
Stainless Steel Pot(s)
For other things that you will cook, perhaps in larger batches like pasta sauce, salsa, or applesauce – make sure you are cooking in stainless steel or other non-reactive pot. DO NOT cook in an aluminum pot – the metal can leach into your food. There are a variety of sizes available, but here are 12-quart and 16-quart examples.
Baking Sheets
When you can things, they aren’t supposed to be moved for 24 hours, to allow them to fully cool and seal and rest and all that goodness. If you are like me, you don’t exactly have a ton of extra counter space to just let dozens of jars sit around for a whole day. So, I take baking sheets, put hot pads underneath them and a towel on top of each one, and when my hot jars come out of the pot, I put them on the baking sheets. Then, after a couple of hours, I can CAREFULLY move the whole baking sheet to a more out-of-the-way location until the next day.
Water Bath Canning
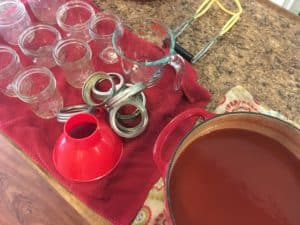 Water bath canning is a great food preservation method for beginners to start with. Low-acid items can be safely water bathed, which includes most jams, jellies, fruit butter, and also your pickled vegetables. For this process, you need to get a pot of water gently boiling, and put your hot jars in for the time the recipe states.
To start out for cost reasons, you can get a standard Granite Ware pot for your water bath process if you like. But, know that eventually, it will rust, so you might rather spend a little more and get something like the Victorio Water Bath or Steam Canner – it’s stainless steel. Steam canning is something I’m not quite yet familiar with, but this particular pot also allows for steam canning – so it’s a dual-purpose purchase, which is always nice.
This page from NCHFP has more in-depth information about boiling water bath canning.
Pressure Canning
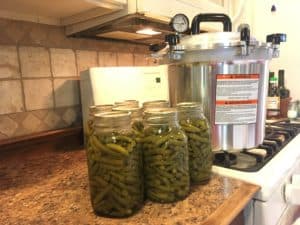 Any low-acid foods must use pressure canning as their food preservation method. This is potentially some tomato products, all non-pickled vegetables, any meat products or meat broths, etc. If the food you want to can is low in acid, it will need to be pressure canned for the appropriate time/pressure to ensure safety.
Don’t Be Scared!
Pressure canning can be scary, but don’t let it scare you off. Be aware of the directions and the equipment you are using and pay attention, and you will be just fine. I finally upgraded my old pressure canner to a new All-American Pressure Canner this past year. I’ve been drooling over one of these for several years, and am so excited that I finally own one.
As you start out, you can buy a less expensive one that will work just fine if you’d like, lots of canners like Presto pressure canners. Important Note: Electric pressure canners are NOT approved for home canning at this time. Even though many of them are being made with a canning function, it has not been tested or approved by NCHFP.
Another thing to note about pressure canners is you want to make sure your gauge is calibrated properly. You don’t want to just snag an old pressure canner from a yard sale and assume it’s fine to use.
This page from NCHFP has more in-depth information about pressure canning.
Low-Temperature Pasteurization
 Sous vide is an electric cooking method that slowly cooks vacuum-sealed food (usually meat) at a constant temperature until it’s done. Then, the cook only needs to briefly sear, smoke, etc. the meat to finish it off for consumption. Many restaurants use this method for ease of preparation, and it has gained popularity among home cooks over the past few years.
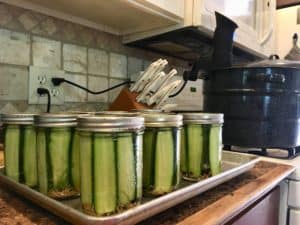
Anyway, low-temperature pasteurization of pickles is a method of food preservation using the sous vide. It allows you to process the pickles at a lower temperature than a hot water bath but for a long enough time at the proper temperature. At the end of the process, the jars are safely processed and sealed. The NCHFP touches briefly on the process here. The logic is that due to the lower temperature, the pickles will stay crunchier.
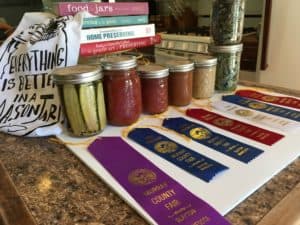 My First Purple Ribbon!
I tried this for the first time this year with my garlic dill pickles using this recipe. Actually, I am excited to share that I won my very first purple ribbon at our local county fair with them! For my pickles, I used my Anova Sous Vide Immersion Circulator to regulate the water temperature for the processing time. Another item I’d recommend would be this Silicon Lid for Sous Vide Setup – it allows you to put the lid with the Anova in your stockpot. It makes much more sense than trying to cover the gap in the lid with towels – now that I know this lid exists, I’ll be getting one!
One word of caution is to not use this process unless the recipe you are using specifically calls for it. I know I sound like a broken record, but guys, let’s follow approved processes and recipes. Botulism is no joke!
Dehydrating
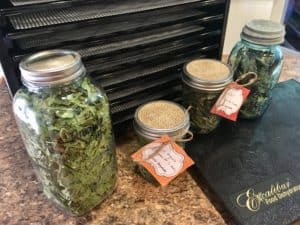 Dehydrating is a great space-saving method of food preservation. Another fun purchase I made this year was for a new dehydrator. I’ve been drooling over this Excalibur 9-Tray Food Dehydrator, and I ended up snagging a flash sale and went for it about a month ago. So far, I’ve dehydrated arugula, basil, and shredded zucchini. It works amazingly well and I love it.
Again, if you want to get started with something a bit less expensive, this Nesco option may be for you.
Dehydrating things is really cool because the process shrinks the product down significantly, and when done properly allows for pantry storage in airtight containers.
This page from NCHFP has more in-depth information about dehydrating foods.
Fermenting
Fermenting is a food preservation process that honestly still kind of scares me a bit. I’m learning more about it as I go along, and I think I have finally mastered sauerkraut. (This wasn’t always the case!) Fermenting foods is a great way to get natural probiotics into your system. It’s also kind of like having a fun science experiment in your kitchen that you get to eventually eat.
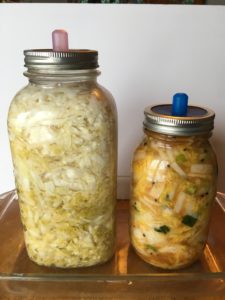 Sauerkraut & Kimchi
To make sauerkraut, I use this recipe from Food in Jars. I just make it in a Half-Gallon Widemouth Jar with Wide Mouth Pickle Pipes & Weights. You may also want a Wooden Sauerkraut Tamper, though the back of a clean wooden spoon may work just as well. I also made kimchi once this year, and we really liked it. I’m going to make another batch, as soon as I can round up the ingredients again.
Sourdough Starter
I also successfully started a sourdough starter this year, which has been really fun. I used the King Arthur Flour process and have made a bunch of various sourdough things. Our favorite has been either Sourdough Waffles or Sourdough English Muffins. I can’t decide.
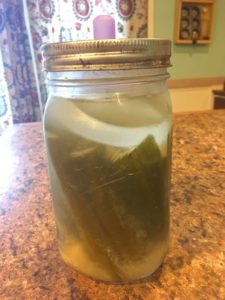 Fermented Dills
I made fermented dill pickles twice this year. Though both batches turned out, we decided they aren’t for us. We just can’t quite get the flavor of them. My husband’s take on it is that if we want to make pickles taste like they have vinegar in them, why not just make pickles with vinegar? I have to say, I don’t disagree.
Something I’d love to try making at some point is kombucha. I haven’t quite been brave enough yet, but it’s on the list!
This page from NCHFP has more in-depth information about fermenting foods.
Freezing
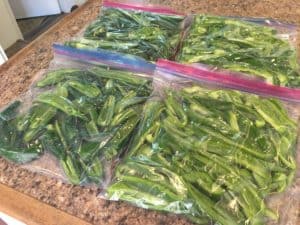 Freezing is a food preservation method that can’t be overlooked. I’m sure all of you freeze things in some way or another, so this one isn’t new to anyone.
Freezing Tomatoes
Quick Tip: As your tomatoes ripen in the summer and fall, did you know you can freeze them wholly until you have enough for a large batch of something? Just take them out, let them thaw, and make your sauce. After the tomatoes have been frozen, the peelings will come off very easily, too!
Freezing Fruit
We also freeze a lot of different fruits, to use in smoothies throughout the year. I also like to make these Smoothie Freezer Packs, which save time on busy mornings.
Freezing Vegetables
Other things we freeze each year include kale and Swiss chard, various peppers, cubed butternut squash, cooked and shredded potatoes, and sweet corn. Yes, these things can all be canned too – but these are items that we prefer frozen in our home.
 Freezing Things You Can’t Can
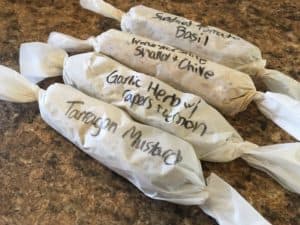
Other ideas include herbs packed in oil and frozen in silicone mold trays, compound butter, lemon curd, and pumpkin butter (because it can’t be safely canned, people!)
You get the idea. Please note that many vegetables do need to be blanched before freezing, it helps with the enzyme process. And for the love, don’t freeze green beans. Just trust me. I guess everyone has their preference, but mine is to just say no to frozen green beans.
This page from NCHFP has more in-depth information about freezing foods.
Curing & Smoking
 The curing and smoking method of food preservation is my husband’s department. He is an avid hunter and fisherman and likes to do various smoker projects and sausage-making in the fall and winter. Actually just last week, he marinated and smoked some white bass.
There are lots of cool things you can do with meats – one of the main ingredients you need is salt. I’m not going to say much more about this, but I know SausageMaker.com is a great resource that has lots of meat-related supplies if you’d like to check it out.
Salt-Preserved Limes
One other thing that does kind of fall under this “curing and smoking” category is Salt-Preserved Limes. A mason jar, sliced limes, and kosher salt will = be a jar of the saltiest, briniest goodness for margaritas you have ever seen.
This page from NCHFP has more in-depth information about curing and smoking meats.
Food Preservation Resources
Please do keep in mind the importance of following tested recipes to ensure safety. Here is a list of great resources you can use. I don’t recommend going out to Pinterest or Google for canning recipes. Keep in mind that anyone can blog about anything they want. Before using their recipe, you want to make sure the author knows what they are talking about. As with anything, do your research and pay attention, and you will be fine!
Some of My Favorite Books
- National Center for Home Food Preservation (NCHFP)
- The All-New Ball Book of Canning and Preserving
- PomonaPectin.com
- FoodInJars.com
- Preserving with Pomona’s Pectin
- Food in Jars: Preserving in Small Batches Year-Round (Marisa McClellan)
- Preserving by the Pint (Marisa McClellan)
- Naturally Sweet Food in Jars (Marisa McClellan)
- Kombucha with Souly Rested
- Dehydrating with The Purposeful Pantry
- Sourdough with King Arthur Flour

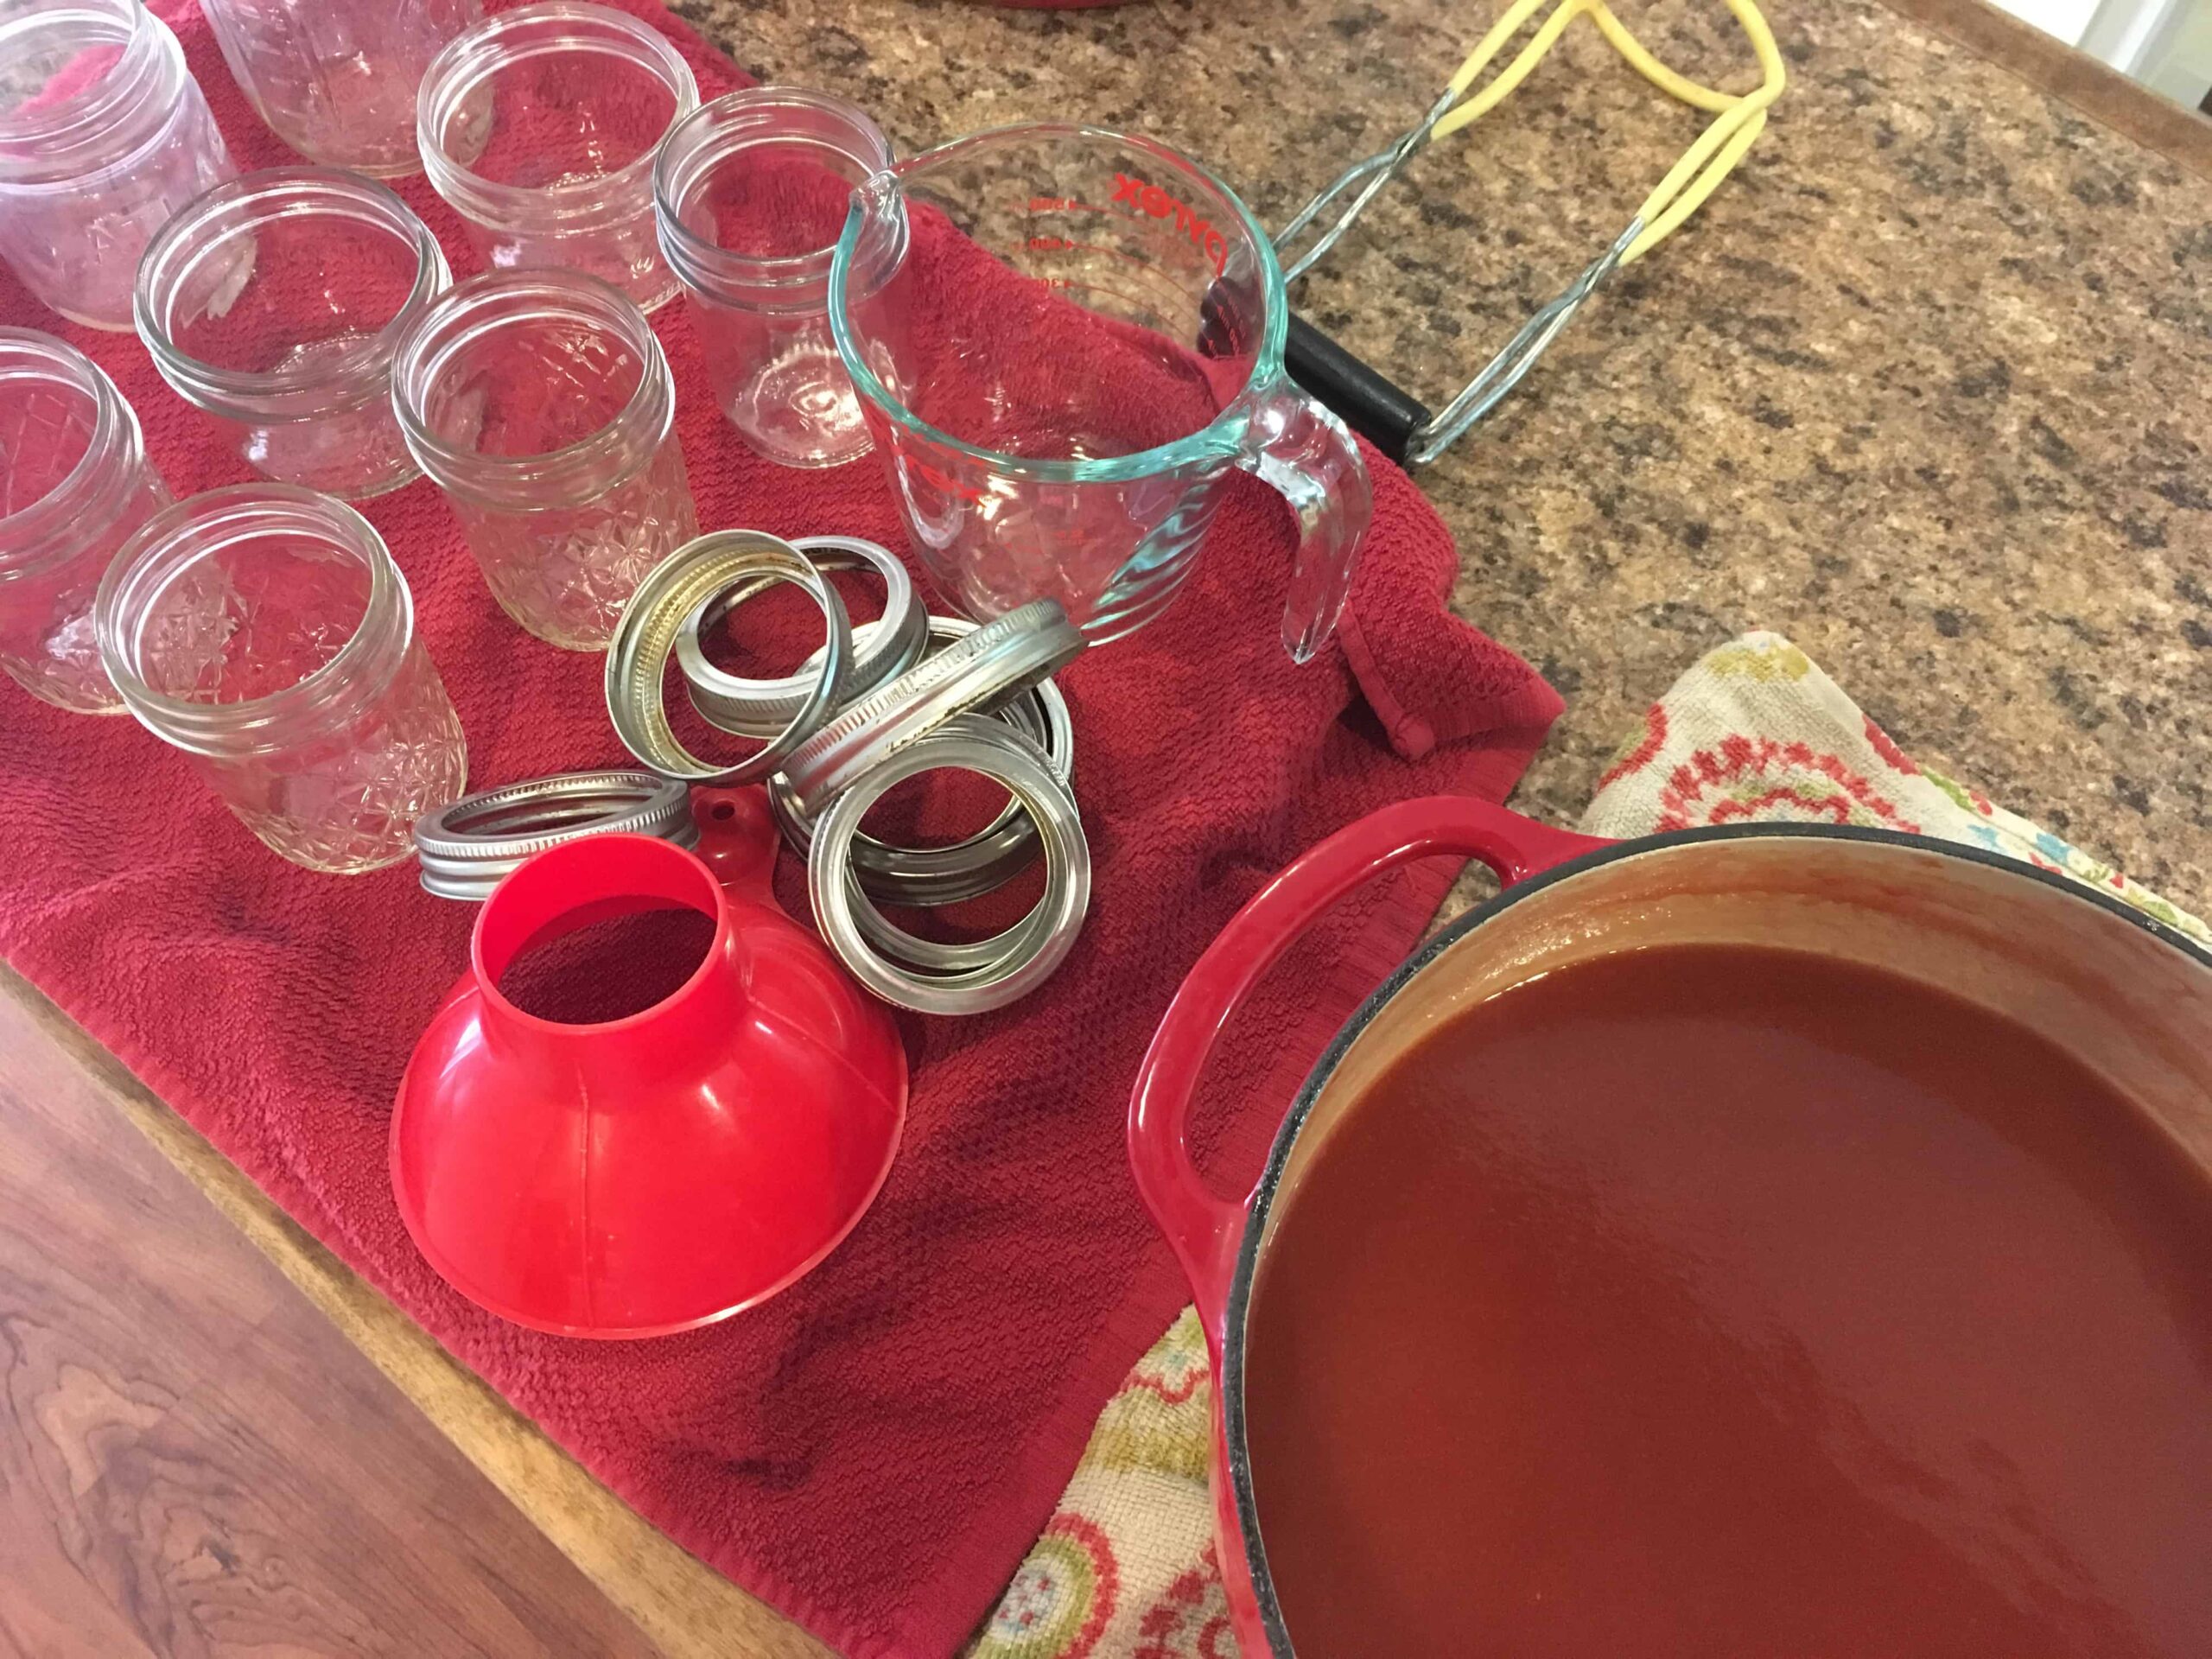
Funny seeing this today, because I’m prepping for a big weekend. We are having our annual salsa canning party and I’m starting some dehydrated garlic. This reminded me that I need to start sterilizing my jars and to buy new lids!
Ooh, dehydrated garlic sounds perfect! I bet that makes the house smell awesome for awhile!
Pingback: How to Use an Abundance of Fresh Vegetables - Mindi Huebner