
I grew up in a hunting household. My dad was an avid hunter – whitetail deer, mule deer, antelope, pheasant – whatever it was, he loved hunting season. He would always spend most of January when all of the seasons were over-cleaning his guns and being sad that he couldn’t hunt again until fall. One of his favorite things to do with part of each harvest was to pressure can venison stew meat.
Learning from My Parents
As a child, I remember helping my parents package the meat for the freezer. My dad did the butchering, my mom did the packaging, and I helped with the tape and writing. We made a pretty good team.
My parents also often pressure-canned venison stew meat from my dad’s various harvests. It’s a simple process if you are familiar with using a pressure canner. If you aren’t familiar with using a pressure canner, it’s easy to learn – you just have to be careful and follow instructions.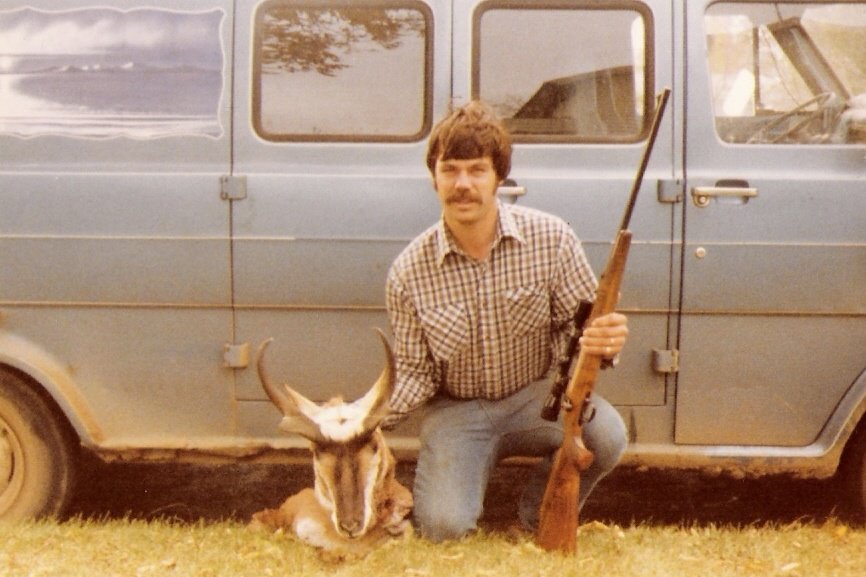
My Husband, the Hunter
Fast forward several years, and I met my husband … who also enjoys hunting – though his favorites are whitetail deer, pheasant, ducks, geese, rabbits, and squirrels. Duck is my absolute favorite thing he brings home, though it took me quite a while to come around on the rabbit and squirrel. They are delicious, though!
Helping My Husband
In helping my husband process deer, my job really hasn’t changed much from when I was young – he does the butchering, and I do the wrapping in freezer paper, taping and labeling. And most of the dishes.
But, I’m also in charge of the canning process when we pressure can stew meat. I’m more of a direction follower than my DH. (DH = Dear Husband. I think that’s hilarious.)
My New All-American Pressure Canner
I have been needing a new pressure canner for a few years and have kept stumbling and grumbling along with my old one (which was actually my Grandpa’s, and the sentimental value was one reason I was dragging my feet about replacing.) My mom pulled the trigger for me this Christmas and gave us the All-American 21.5-Quart Pressure Canner that I had been ogling.
We Process our Own Venison
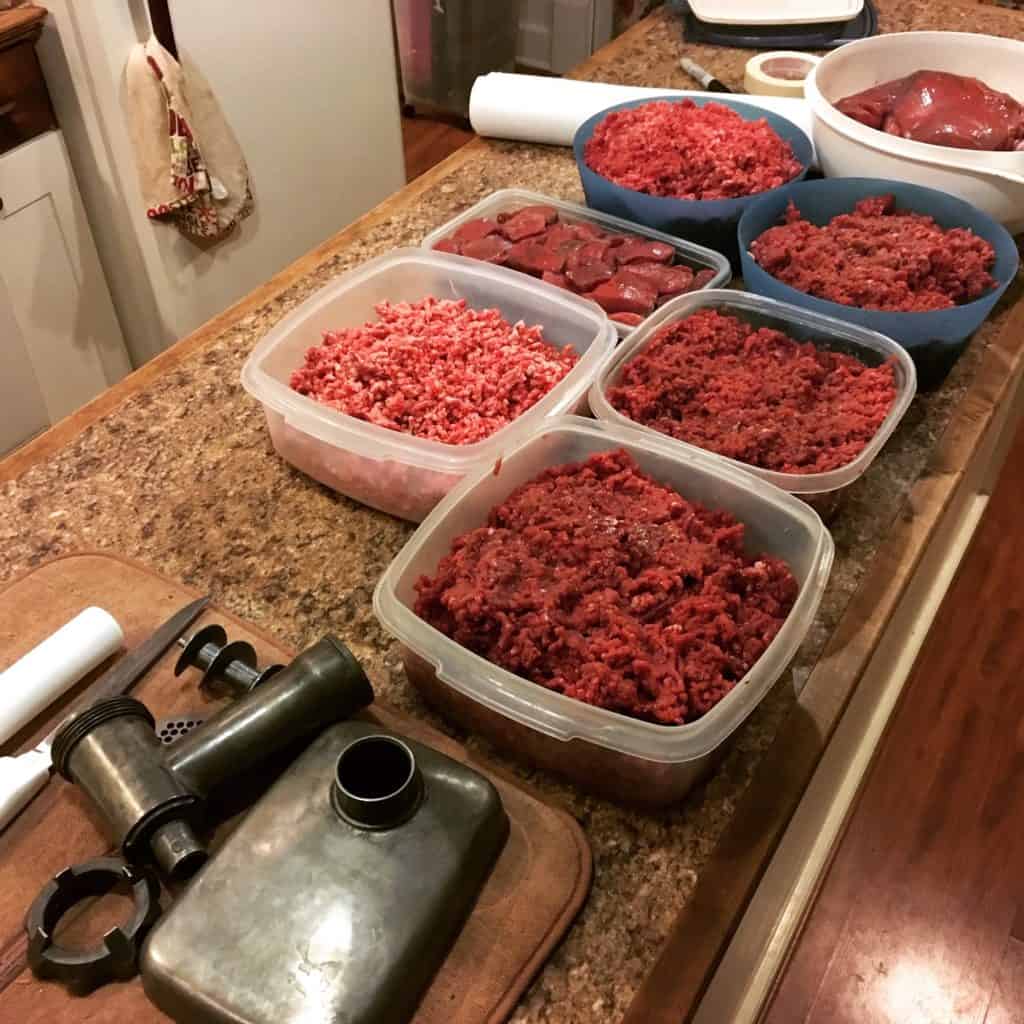
The photo below shows the meat from one deer, one 10-pound beef roast, and one pound of beef fat our local butcher threw in for me when I bought the roast. I think we decided when it was all said and done that the burger we froze this year is comparable fat content-wise to 90/10 ground beef. We also froze the tenderloin steaks.
The white bowl in the top right contains the roast pieces that were later cut into stew meat for our pressure-canned batch.
Using an Electric Meat Grinder
Preparing the Jars: Venison Stew Meat
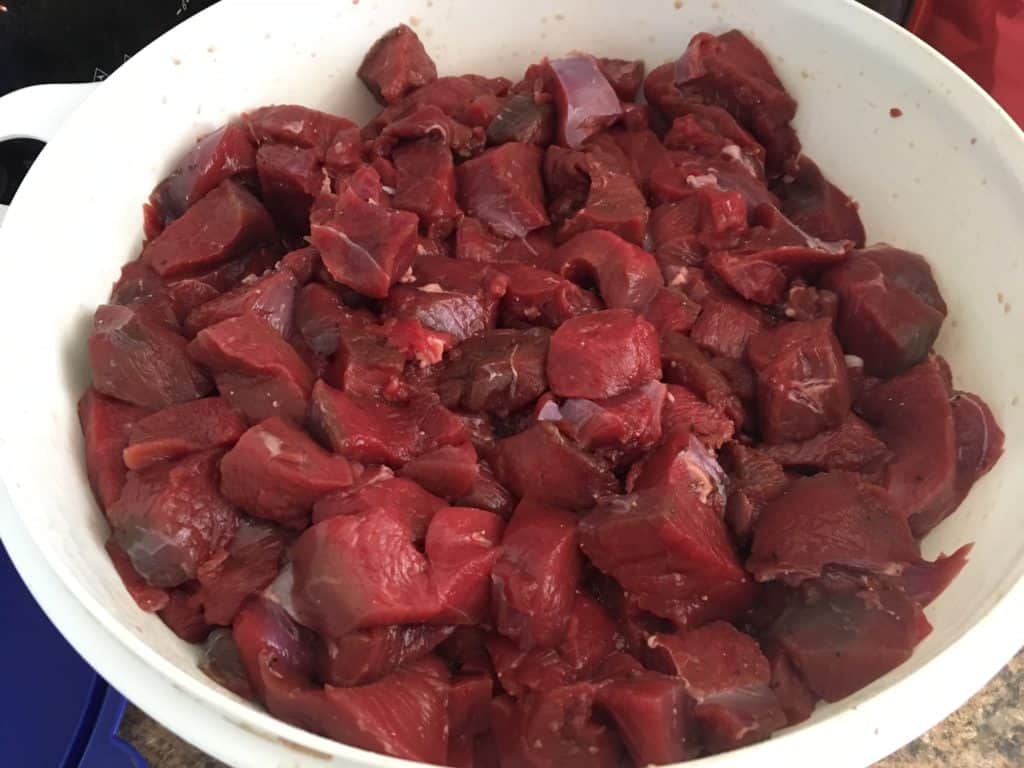
Here’s that white bowl I was referencing in the previous photo. It shows 15 pounds of deer roast, cubed and ready to stuff in quart jars. (It’s a Tupperware Thatsa Bowl (32-cup) – it’s so useful for so much stuff!
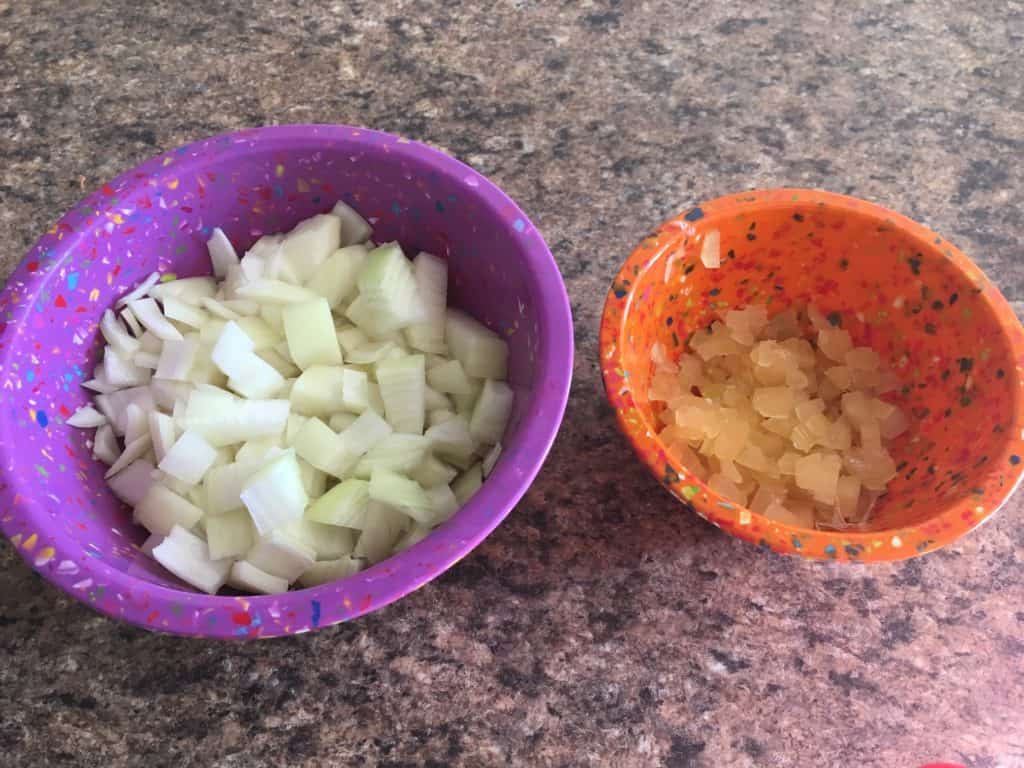 When we pressure can our stew meat, we also put a bit of diced onion and garlic in each jar. The amount showing in the ZAK Designs Mixing Bowl Set above is what we used to with 15 pounds of stew meat (which yielded seven 1-quart jars.)
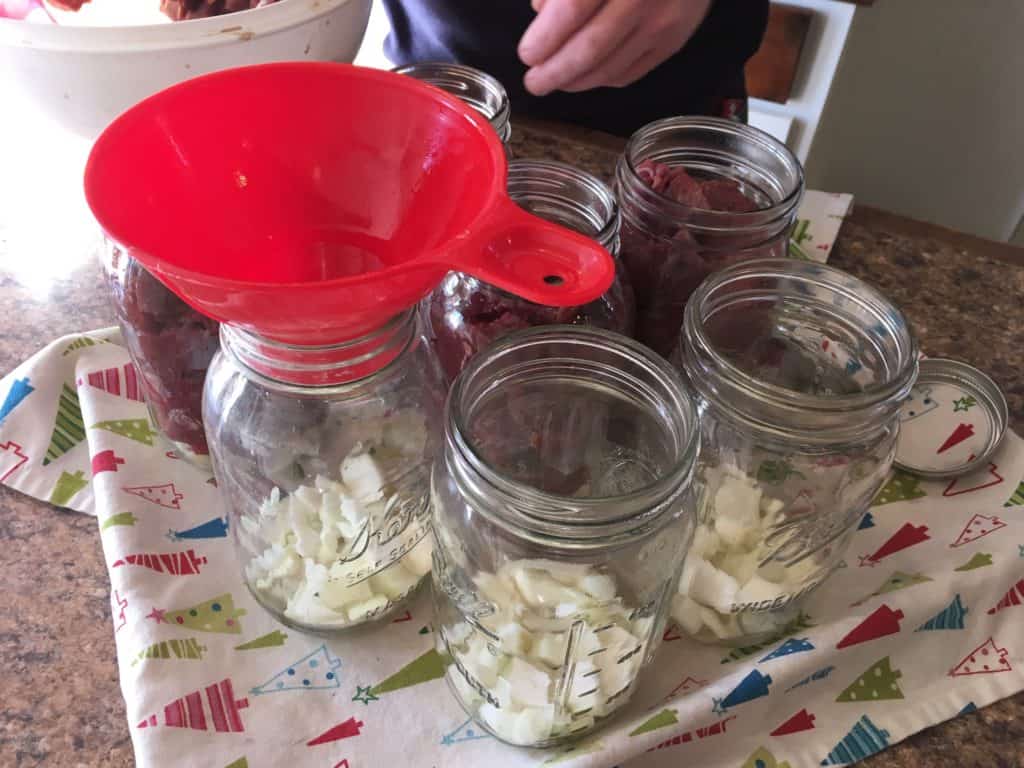
I usually prefer to use wide-mouth jars for pressure canning meat, they are easier to fill, easier to get the meat out when you use it, and easier to clean. Due to poor planning on my part, I didn’t have 7 wide-mouth jars – so we used some regular mouth as well.
We put the onions and garlic in the bottom of the jars, some black pepper, and 1 teaspoon pickling salt per quart jar. My husband had the stew meat all cut up and put 7 teaspoons of pickling salt on the meat the night before we pressure-canned it, making sure to mix it well.
Here the jars are all ready for lids and to go in the canner.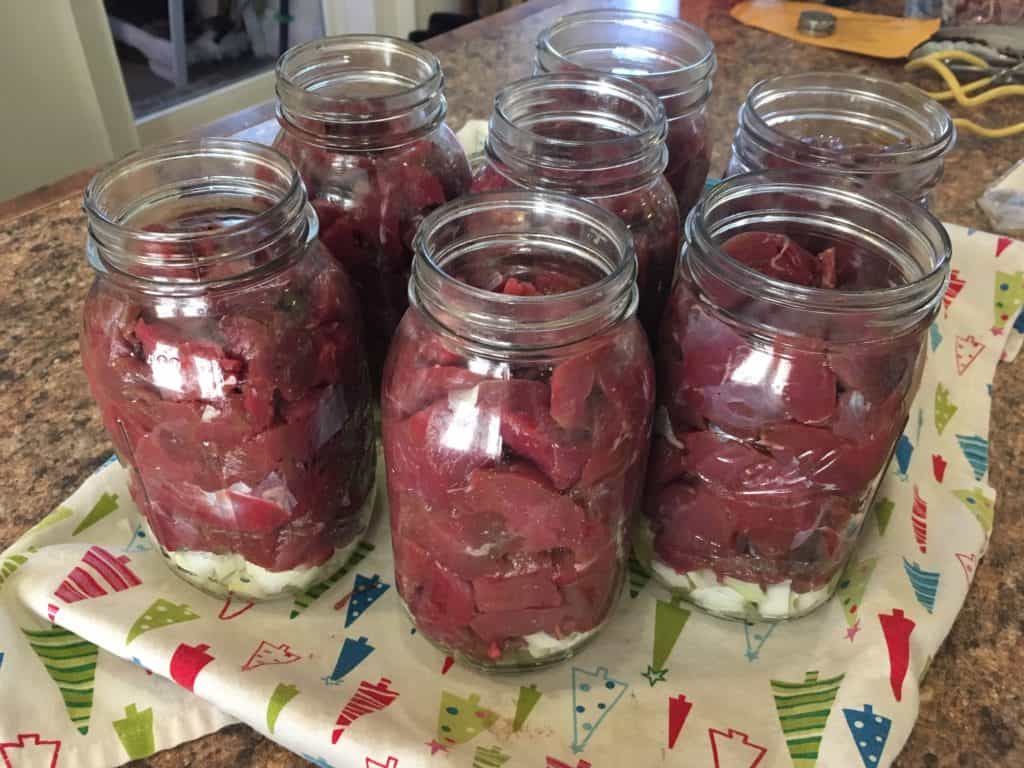
The Maiden Voyage of the All-American
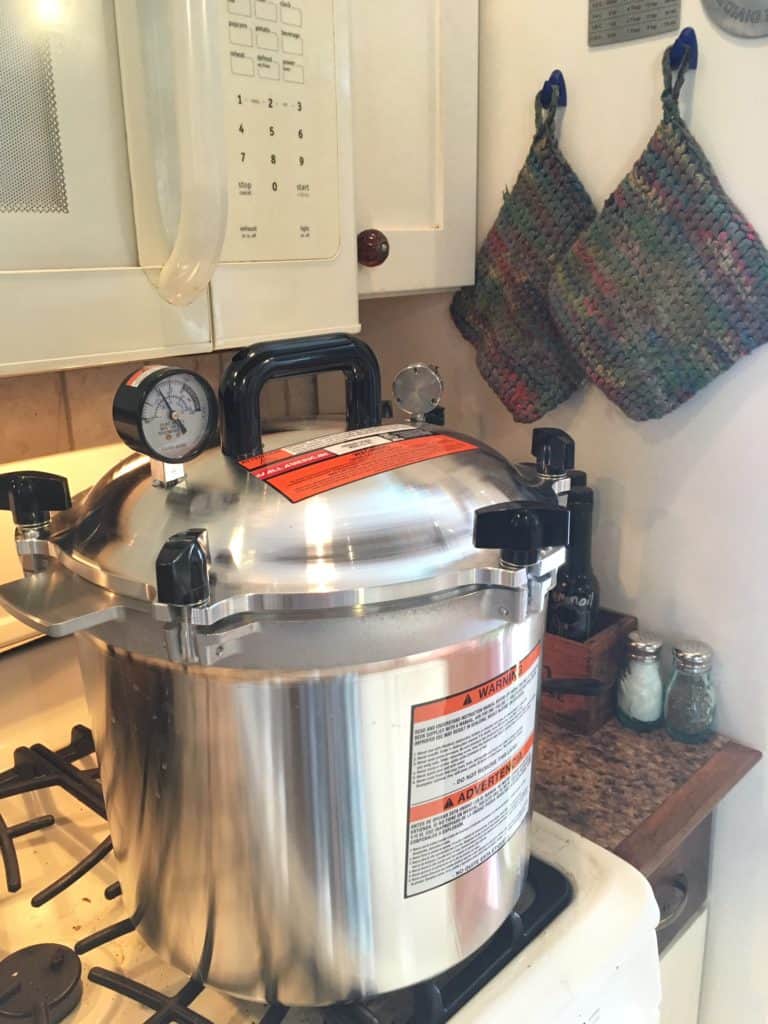
Here she is, the All-American 21.5-Quart Pressure Canner. Isn’t she a beauty? It’s actually a bit larger than the one I had in mind, which they apparently quit making. I was sweating for a minute because it was almost a tight fit between the stove and range top, but it fit and still had some breathing room to spare.
 Following the Directions
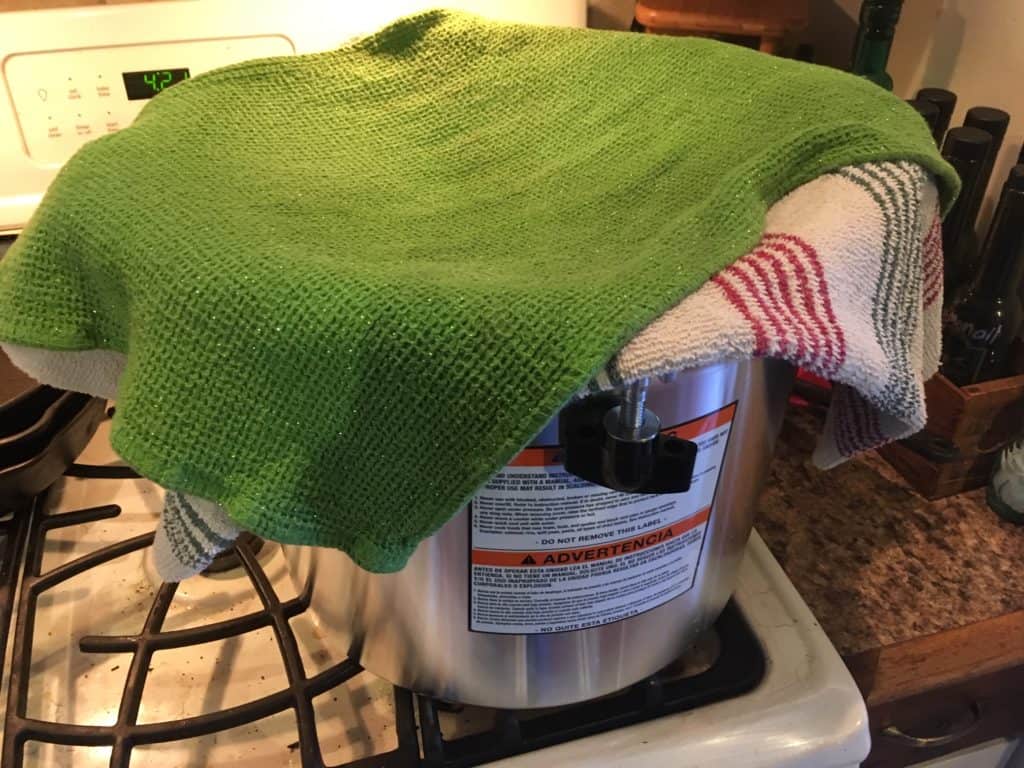 I let the jars sit in the canner with towels on top for 10-15 minutes. This prevents temperature change shock. Then, I took them out.
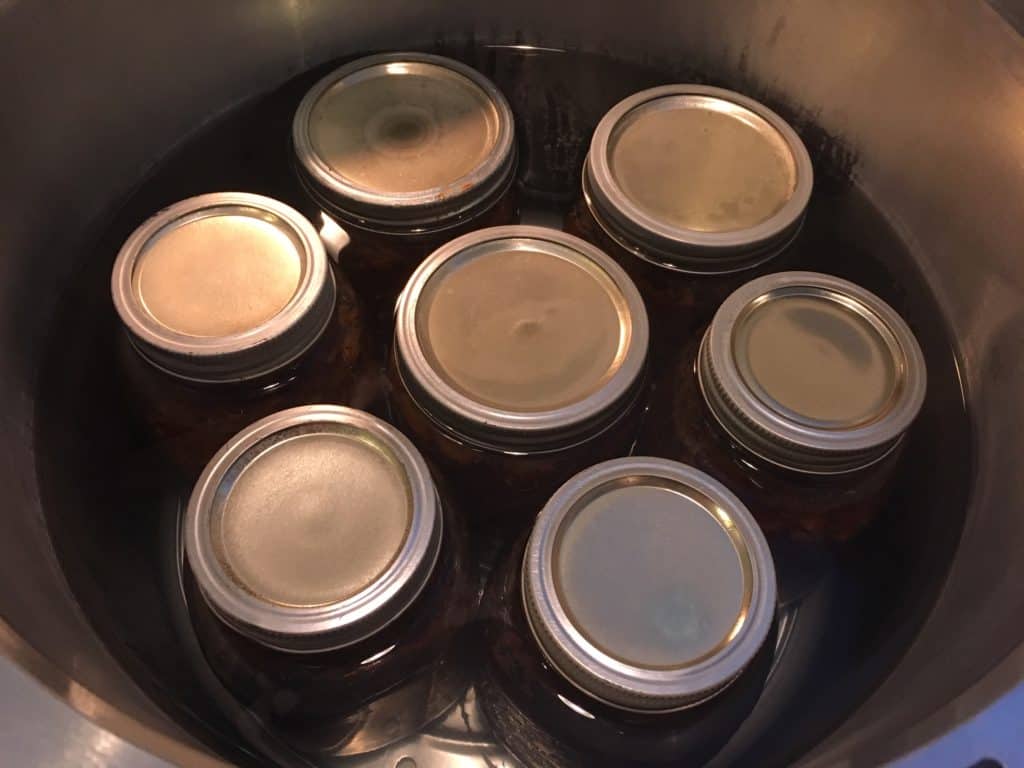
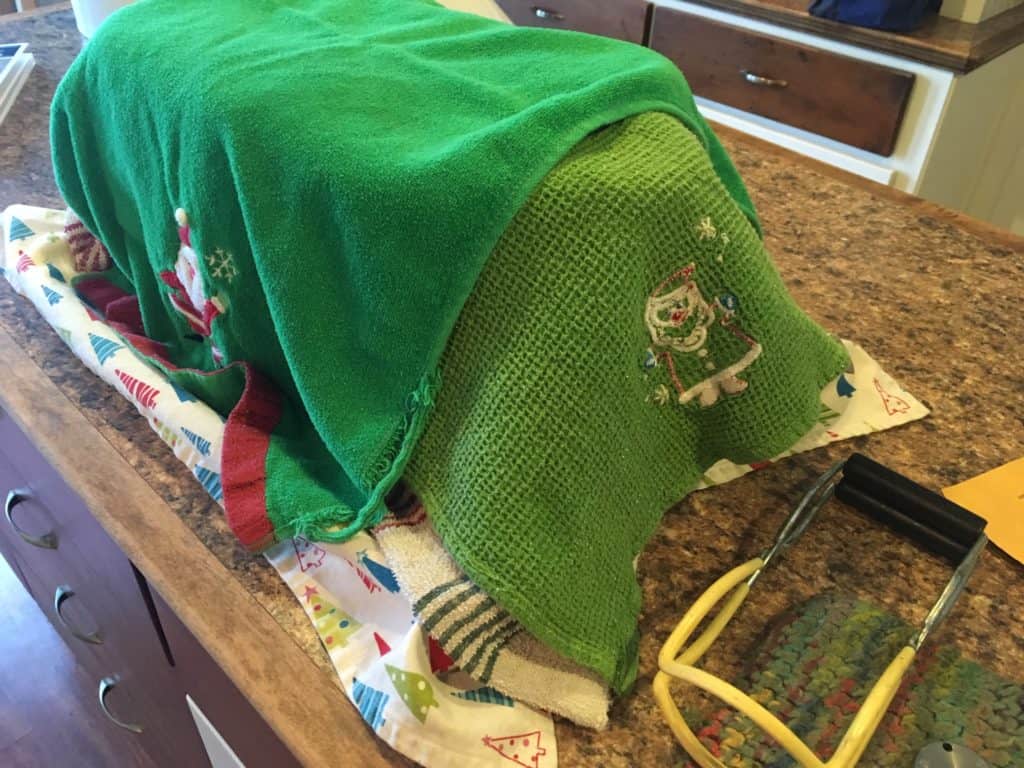
I covered them with towels and left them alone for 24 hours, then uncovered and checked seals. Then, I wiped the jars with a wet washcloth and labeled them.
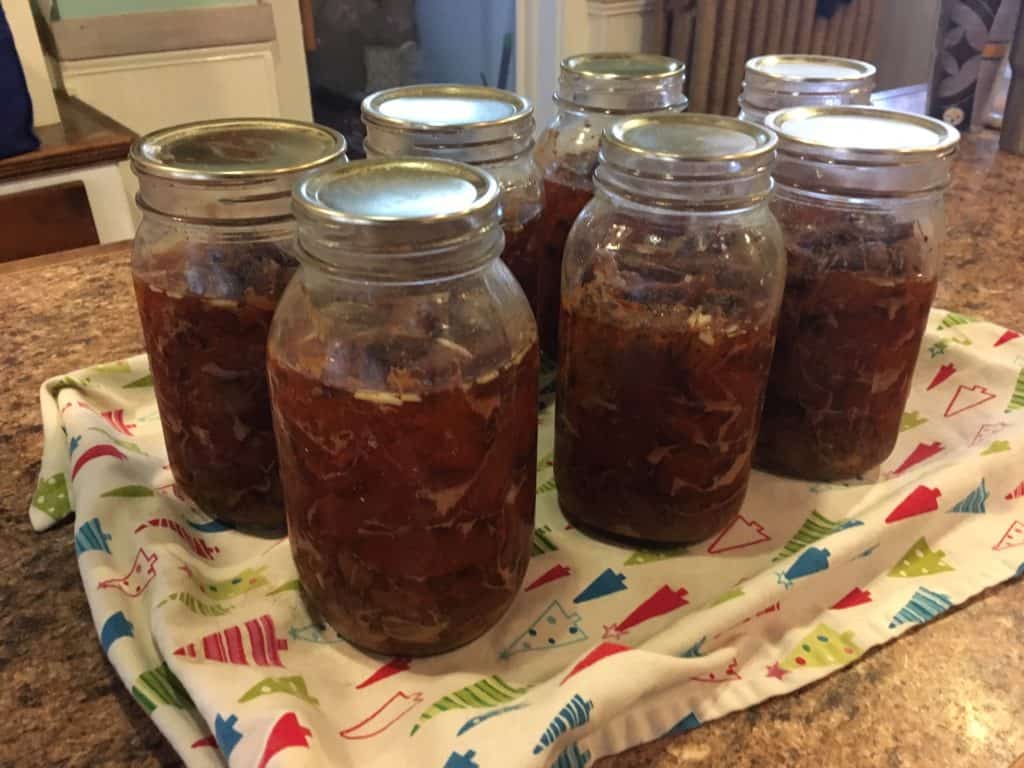
 Pressure Canned Venison Stew Meat
Frequently Asked Questions
What is pressure canning used for?
Pressure canning is used to safely preserve low-acid foods such as meat, vegetables, soups, beans, and stews for long-term storage.
Can venison be pressure canned at home?
Yes, venison can be safely pressure canned when using tested recipes, proper pressure canning procedures, and approved equipment.
Why do people pressure can stew meat?
Pressure-canned stew meat creates convenient shelf-stable meals that can quickly be used for soups, stews, tacos, sandwiches, stroganoff, and other recipes.
What is an All-American Pressure Canner?
All-American 21.5-Quart Pressure Canner is a heavy-duty pressure canner commonly used for home food preservation and canning low-acid foods.
Why is it important to follow pressure canning instructions carefully?
Pressure canners operate under high heat and pressure, so carefully following tested instructions helps ensure food safety and proper equipment use.
What a great site. I love all the information. I have been wanting to can some deer meat for quite and while and actually purchase a pressure canner this summer but didn’t use it yet. Your advise on remembering that this is a dangerous piece of equipment is well stated never open it up until it has lost all pressure. Never thought about leaving them in the canner either. All good things to know. Thanks.